Last Updated on August 15, 2022
Some might think brakes do nothing but slow down your mountain bike. That’s true. But that isn’t always the case. In fact, proper braking can make you faster! It can even make your ride safer.
It’s all about the proper timing and brake lever positioning. And one right way to do that is by learning how to adjust brake levers on a mountain bike.
In this article, we’ll tell you the right way on how to adjust brake levers on a mountain bike. Not only will this make you ride your bike like a pro. But it’ll also prevent you from crashing and slowing down unnecessarily.
Things You Need
- Allen keys
- Torque wrench
- Grease
- Clean cloth
Related: What Mountain Bike Tools Do I Need
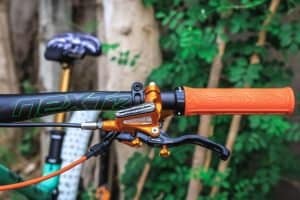
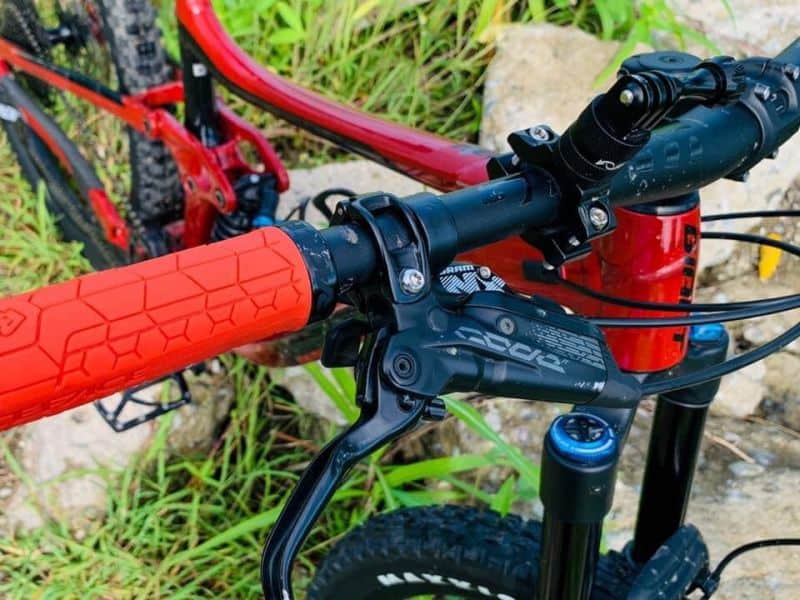
Step 1: Adjust the levers’ position on your handlebar
The first thing to do is to determine your brakes’ position on your handlebar. They shouldn’t be too far from your grips or too close.
Position your hand on the grips and stretch your pointer finger. You should do this comfortably. Also, make sure that your fingers rest on the outer end of the lever. It should also form a straight line along with your hands and arms.
But what cyclists usually do is position the levers inward, so they don’t have to stretch much. You need to be careful, though, because having the levers too close to the grips lessens the braking power.
This happens because you can’t bring out your full force when pulling the lever. But putting it too far also makes it difficult to reach.
It’s best if you position it not too far or too close. Just make sure your fingers and lower arm form a straight line when pulling the brakes. Your pointer finger should also rest on the outer side of the lever.
Related:
How to Measure Mountain Bike Handlebars
How to Raise Handlebars on a Mountain Bike
Step 2: Adjust the braking angle
Adjusting the braking angle is important because this affects your hand fatigue. Make sure that your palms and lower arms form a straight line when you’re in an attack position.
Your pointer finger should also be fully stretched and align with your palms and arms. This lessens hand fatigue and makes you more comfortable. It also improves balance and maneuverability.
Do these adjustments while you’re in an attack position on your bike. You can also put your rear wheel on a bike stand or ask someone to hold you so you don’t fall.
We recommend you have a flatter angle position if you always ride on steep downhill trails. This helps you gain your balance because it lowers down your body. You also don’t have to reach too much to the front and risk falling down.
Having a very high angle means your wrist has to bend too much which causes hand fatigue. But having it too low also makes the levers hard to reach. Just make sure that your wrists, finger, and lower arms form a straight line.
Step 3: Adjust the lever reach

Adjusting the reach of your lever is also important because this is where modulation depends on. Modulating your brakes lets you go faster because you become more precise when slowing down.
There are some brakes that have a reach adjuster. An example of this is SRAM’s Code RSC brakes, which are their top-of-the-line enduro downhill brakes.
It might be expensive, but it’s totally worth it because it comes with quad-pistons and offers exceptional braking power. You can use Allen keys if your brakes don’t have a reach adjuster. Make sure that your pointer finger’s first joint is on the lever.
Don’t put it too close because this puts the second joint on the lever. This increases the chance of your finger slipping.
Also, don’t adjust it too far because you can’t easily reach the lever. Just make sure that the lever is aligned with your first joint.
Finally, see to it that you correctly move and tighten the pads, brake pad, cable, and caliper. The bolt and rotor should also be at their right angle.
Step 4: Adjust the braking bite point
The braking bit point is where your braking power takes full force. It’s when your brakes are directly applied right after you pull the lever. But this isn’t present in all brakes because they’re reserved in premium models.
An example of this is the Hope M4. This feature lets you adjust the amount of lever movement needed for you to stop. Shimano is known for instant braking, where a slight pull results in an all-out braking power.
The opposite happens with SRAM because they’re known for their modulation. This means you have to pull all the way for the braking action to start. It gives you a spongy feeling so you won’t go “over the bars” when you accidentally pull the front brakes suddenly.
It’s best that you adjust the brakes’ biting force just enough for you to generate maximum power from your fingers. Also, make sure that your levers aren’t so far from your fingers. They also shouldn’t touch your other fingers.
How to use your front brakes properly?
Your front brakes do most of the stopping for your bike. It’s the brake that responds well to making your bike stop. In simpler words, this makes you stop at the shortest distance possible. It might seem really nice to pull it full-force.
But note that doing this has caused a lot of over-the-bar or OTB accidents. Suddenly pulling the front brakes stops your front wheel from spinning. This then throws you out of your bike.
It’s best to not use your front brakes too much. Front brakes are meant to assist your rear brakes, which should be treated as your main brakes. Just feather down your front brakes and don’t pull it all the way.
How to modulate your rear brakes correctly?
Rear brakes are slower in stopping your bike. But they’re more reliable and effective when you need grip. They help you keep control when maneuvering through tight trails.
They can also make you faster because you can slow down accurately. This means that you can easily release the brake lever when needed, just like in high-speed sections after corners.
Don’t pull your brakes too much to the point of pulling it all the way to your handlebar. That might work. But that just slows you down too much. And you don’t want that when you are mountain biking! It’s not even safe to go very slow because this makes you lose momentum and control.
Conclusion
Your brakes don’t necessarily mean slowing you down. Well, it literally does that. But you need to use them to your advantage. And that is to be faster. This means you need to use your brakes to approach corners and tight sections with accuracy.
Release them when you’re in high-speed sections. But be careful! You also need to consider their position, angle, and alignment with your arms and hands for maximum efficiency.
You can achieve all these if you know how to adjust brake levers on a mountain bike.
Hopefully, you’ve learned the right way of learning how to adjust brake levers on a mountain bike. Because this will greatly help you when riding. After all, we all want to ride like a pro, right?
Well, this article helps you achieve just that.
Related: How to Fix Squeaky Brakes