Last Updated on September 11, 2021
Squeaky brakes, every biker’s favorite situation. There is nothing more dreadful than having to clip those brakes with the fear of attracting attention to yourself. The squeal is quite synonymous with a honking bus, which I presume would definitely get everyone’s attention.
Especially in mountain biking, it is like announcing to your ride buddies that you are squeezing your brakes while on a descent. Luckily for our riders, the solution to squeaking brakes is quite simple. And don’t worry, you will have your quiet brakes back in no time!
Why do brakes squeal
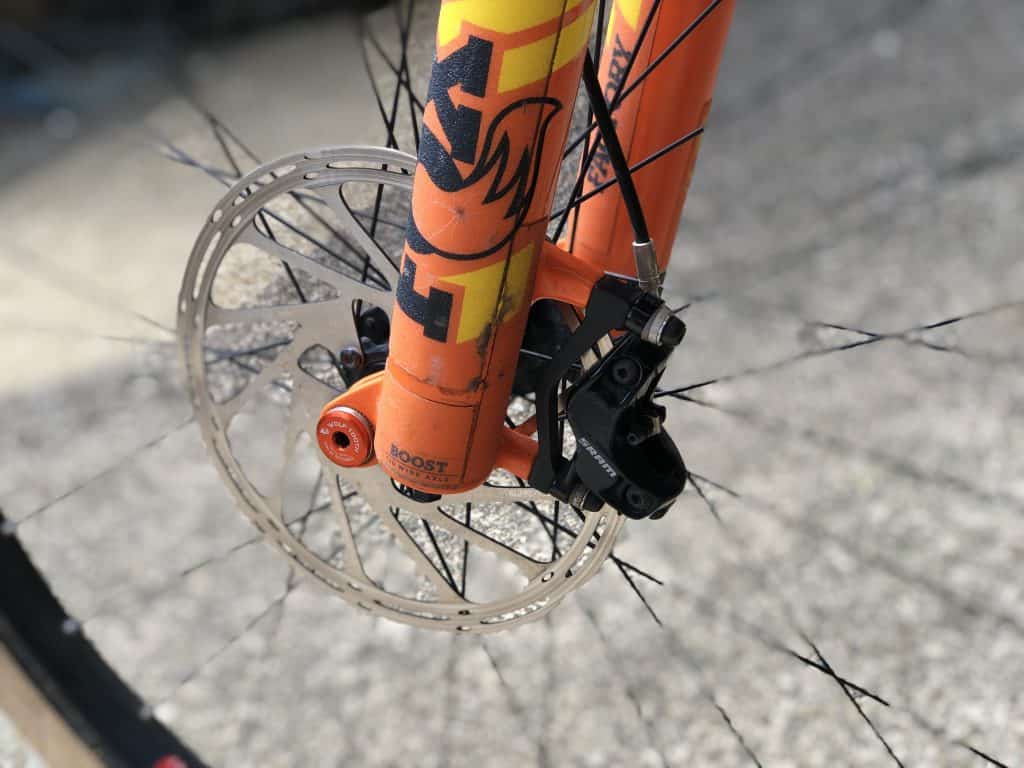
It is very important that we understand how our bikes work and why brake rotors squeal in the first place. One reason why brakes squeal is because of rotor vibrations. Or it could very well come from the calipers themselves.
Normally the noise would increase in volume as the speed rises. It will then reach a certain pitch wherein it can be heard by the human ear. A bike’s disc brake system that is running in optimum condition does not have vibration even if it is under very heavy use.
One of the most common causes of brake squeal is the contamination of the brake rotors and when the brake pads are glazed. Brake squeaking is also very common on bikes with a brake pedal but is also heard on bikes with disc brakes.
This happens when they come in contact with contaminants, like when we accidentally touch our brake rotors, which will cause the rotor and pads to lose grip.
Contaminated rotors will then cause certain vibrations which will lead to squealing. In situations wherein the rotors are bad, sometimes it can be saved but the most likely solution is for the brake pads to be replaced.
How to fix squeaky brakes
Vibration
The first thing to do to avoid noisy brakes is to check if all parts of your braking system are bolted on properly. One of the most common sources of vibrations is loose rotors and brake calipers. However, if both of the rotors and calipers are bolted on just right, the culprit might be the pads themselves.
It could be that you are using the wrong brake pad for your calipers. If it does not fit right, the pads are loose inside the calipers and will likely cause unwanted vibrations which will result in squealing.
There are even cases wherein riders are using off-brand pads, they are of the same specifications but are not the recommended OEM replacement for your baking system. Loose pads also shudder inside the caliper which results in the brake pads bouncing off the rotors and pistons thus resulting in squeaking brake noise.
Rotor and Brake Pad Contamination
While this is the most common cause of brake squeal, it is also more challenging to fix.

The first thing you need to do is to assemble all the tools and materials that are needed:
Break cleaner (formulated from methyl hydrate)
This will work on the grease that is causing the contamination on the rotor and brake pad surface
Clean rags and paper towel
Make sure that the rags and paper towels are clean and free from contaminants. Otherwise, we will only be adding more contaminants to our braking system.
Sandpaper (medium-fine)
This will be used to clean the surface of the pads and rotors. Do not go for rougher sandpaper as it will also damage the surface of the rotors and will not get rid of noisy brakes or brakes squeak sounds.
Allen keys
This will be used to remove the rotor and caliper bolts.
Steps to Fixing Squeaky Brakes
Step 1
Begin the process by removing the wheels from the bike where the braking system is contaminated. You would need to do this to be able to remove the rotors and the calipers from the bike.
Step 2
Check the caliper bolts on the frame if they are bolted in place. Make sure that they are tight.
Step 3
Remove the pin that holds the pads and completely remove the pads from the caliper. Be careful in doing so, you might contaminate the surface of the brake pads.
Step 4
Place the sandpaper on a flat surface holding it in place. Carefully rub the pads on the surface while holding it face down. Do this until you remove the top layer of the brake pad backing plate along with the contaminants that cause the glazing.
Step 5
The surface of the brake pad should look metallic brown once finished.
Step 6
Check the brake rotor bolts and make sure that they are secured tightly to the wheel.
Step 7
Spray the brake rotor surface with brake cleaner and wipe it thoroughly with a clean towel.
Step 8
Using an uncontaminated sheet of sandpaper, buff the rotor surface lightly.
Step 9
Once done spray it again with solvent and wipe clean with a towel. Make sure that you do not touch the surface of the rotor.
Step 10
Reinstall the brake pads to the caliper and ensure that it is secured in place.
Step 11
Place the wheel back and check the alignment of the brake pads in relation to the brake rotors. Make sure that it is centered so that it will not rub on the brake pads.
Bike Repair Safety Tips
When you are using solvents and brake cleaners, make sure that it does not harm the rubber bushings on your bike.

There are industrial-grade brake cleaners that might do more harm than good. Always check the specifications of use before applying it on your bike.
Conclusion
You can include these steps in your basic bike maintenance to ensure that your braking system is performing 100% all the time. You can also wear rubber gloves if you are working on your bike, to avoid unnecessarily contaminating your braking system.
But contamination can come from anywhere especially when you are riding wet and muddy trails. Just make sure that you do the necessary maintenance after your ride. Otherwise, the contamination will only build up over time which will hinder the braking power for your bike’s braking system.
But if all else fails, you can visit your local bike mechanic to get professional advice on what to do with your braking system.
