
Last Updated on October 2, 2022
Mountain biking is a fun and enjoyable way to enjoy the outdoors and go to any place you like. It’s the ultimate two-wheeled vehicle that can be brought to wherever destination you want to go.
However, you also need to ensure its safety factor. One good way to do that is to maintain its braking system by regularly bleeding the brakes.
In this article, we are going to show you the right way to how you can bleed mountain bike brakes. A step-by-step guide will be provided so that beginners and veteran riders alike can learn the correct process.
Not only will this make your rides safer, but this also ensures that you maintain your speed because proper braking can also make you faster. It can even help improve maneuverability as it provides you with better control.
Things you need
Mineral oil

- Bayes high-performance mineral oil wood & bamboo conditioner and protectant uses the highest quality food-grade mineral oil to nourish and beautifully preserve all wood cutting boards, utensils, and accessories for years
Prices pulled from the Amazon Product Advertising API on:
Product prices and availability are accurate as of the date/time indicated and are subject to change. Any price and availability information displayed on [relevant Amazon Site(s), as applicable] at the time of purchase will apply to the purchase of this product.
Mineral oil is the core of the bleeding process because this is the brake fluid that you will put inside your brake system. Essentially, what you’re doing when bleeding is replacing the mineral oil brake fluid inside the hose with a new one so that it will be cleaner and more powerful when braking.
Flat-blade screwdriver

- Narrow cabinet tip permits blade access where space is limited
Prices pulled from the Amazon Product Advertising API on:
Product prices and availability are accurate as of the date/time indicated and are subject to change. Any price and availability information displayed on [relevant Amazon Site(s), as applicable] at the time of purchase will apply to the purchase of this product.
Prepare a flat-blade screwdriver that doesn’t have any deformities on its metal surface. It should be clean and free from rust.
Allen key (2.5mm, 3mm, and 4mm)
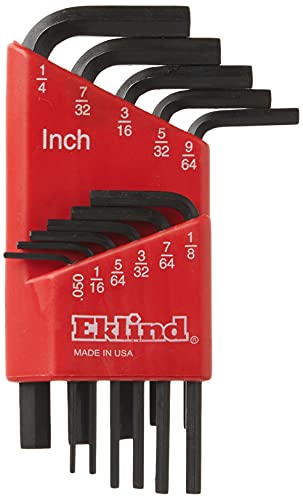
- MADE IN AMERICA- High quality, Industrial Grade Professional Tools made in the U.S.A.
Prices pulled from the Amazon Product Advertising API on:
Product prices and availability are accurate as of the date/time indicated and are subject to change. Any price and availability information displayed on [relevant Amazon Site(s), as applicable] at the time of purchase will apply to the purchase of this product.
Get an Allen key with multiple variants. You are going to need 2.5 mm, 3 mm, and 4 mm Allen key measurements, depending on the size and model of your brake system.
Spanner or wrench
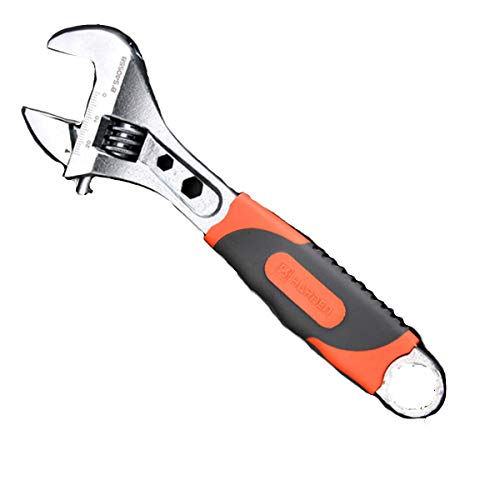
- Heavy duty chrome plated carbon steel
Prices pulled from the Amazon Product Advertising API on:
Product prices and availability are accurate as of the date/time indicated and are subject to change. Any price and availability information displayed on [relevant Amazon Site(s), as applicable] at the time of purchase will apply to the purchase of this product.
A spanner, which is also called a wrench, is important because this ensures that the knobs and nuts of the brake will be tightened accordingly.
Bleeding cup
This will be the cup where your brake’s old mineral oil will be poured to. Make sure that it doesn’t have any holes because the oil can seep through the floor and contaminate the other parts of your bike.
Syringe
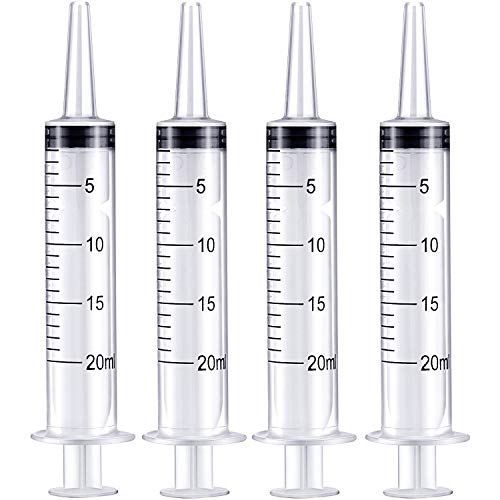
- Suit for: polypropylene barrel plunger for measuring and dispensing fluids, suit for lab use and experiments
Prices pulled from the Amazon Product Advertising API on:
Product prices and availability are accurate as of the date/time indicated and are subject to change. Any price and availability information displayed on [relevant Amazon Site(s), as applicable] at the time of purchase will apply to the purchase of this product.
The syringe will be used to suck the old mineral oil out of your brakes. You then are going to use another syringe to inject the new mineral oil into your brakes.
Hose
The hose will be connected to the syringe and is where the mineral oil will flow to and fro the brake system.
Zip tie

- 【Heavy Duty】 Strength tensile is decided by Width-- Our wire ties 0.14inch / 3.5mm wider make the ties stronger than the same size for more projects.
Prices pulled from the Amazon Product Advertising API on:
Product prices and availability are accurate as of the date/time indicated and are subject to change. Any price and availability information displayed on [relevant Amazon Site(s), as applicable] at the time of purchase will apply to the purchase of this product.
Prepare a couple of zip ties in case you need to temporarily strap something. This can also be used to prevent spillovers when you’re stowing away the bled oil brake fluid.
Plastic bag

- Ideal For: Grocery, Retail, Restaurants, and Shopping
Prices pulled from the Amazon Product Advertising API on:
Product prices and availability are accurate as of the date/time indicated and are subject to change. Any price and availability information displayed on [relevant Amazon Site(s), as applicable] at the time of purchase will apply to the purchase of this product.
This is where you’ll place the trash and the old brake fluid you’ve just taken out from your brakes.
Rags
You need to have multiple rags to clean the mess from the brake fluid after you’ve bled your brakes. Note that there will be spillovers around the area.
Step-by-step guide in bleeding mountain bike brakes
Step 1
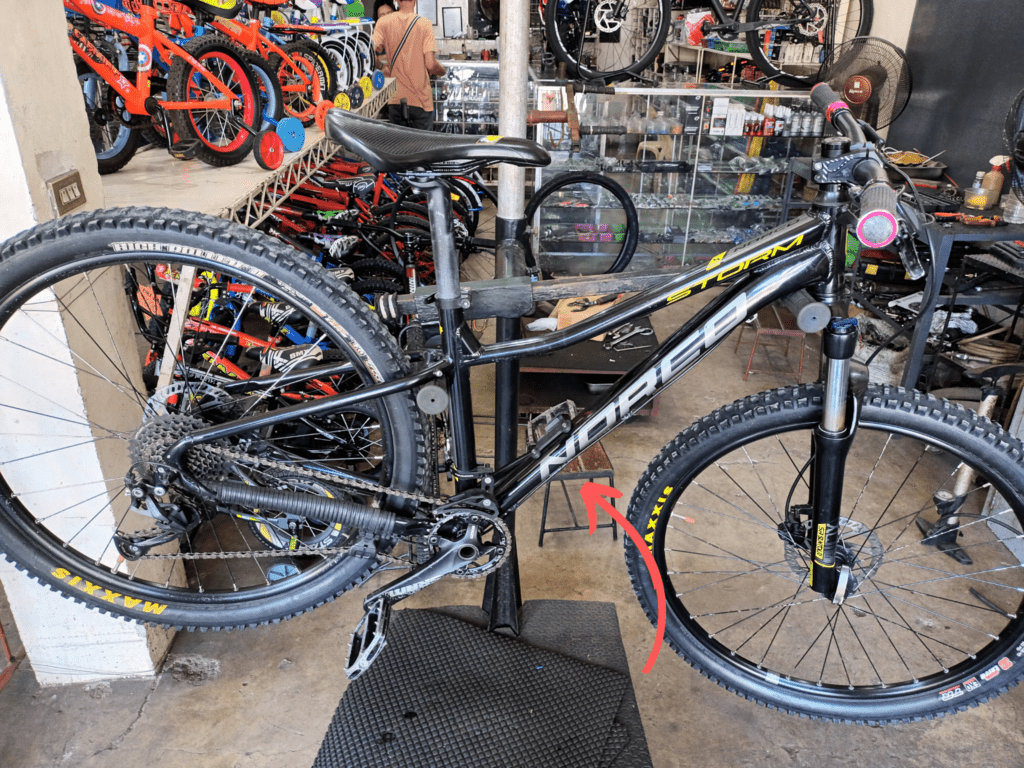
The first thing you need to do when bleeding mountain bike brakes is to first mount your bike on a dedicated workstation.
This can come in the form of a stand or bike rack. Then remove the wheel and simultaneously insert a flat-bladed screwdriver between its disc brake pads. You can also place a piston press in between them. You will use this to push back the pistons directly to the bores.
Slowly remove the pad that retains the pin. And then gently pull the pads from the caliper. After that, take out the bleed block and insert it to the base.
Step 2
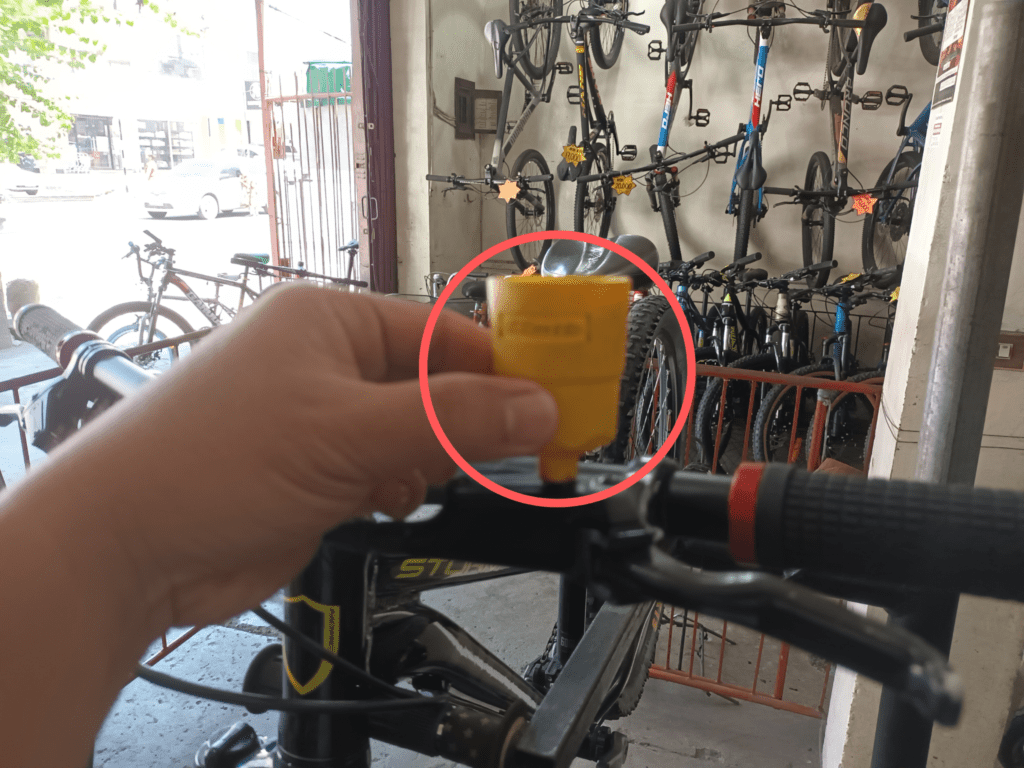
Slowly thread the bleed cup into the mechanism while making sure that it won’t interfere with the other moving parts.
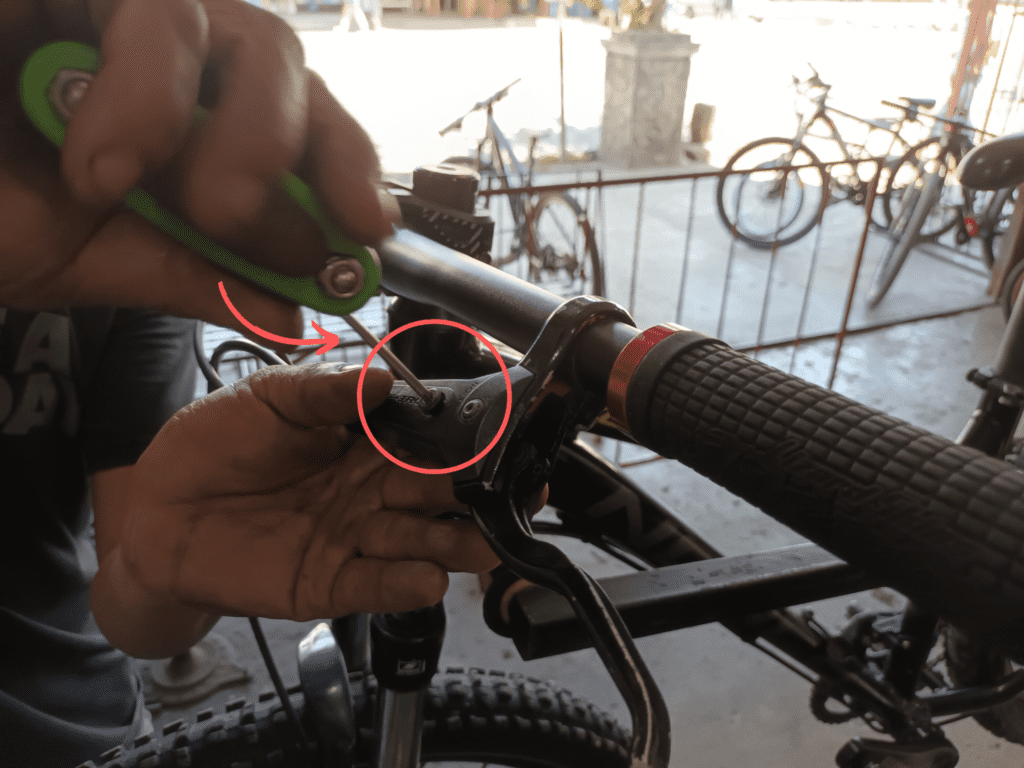
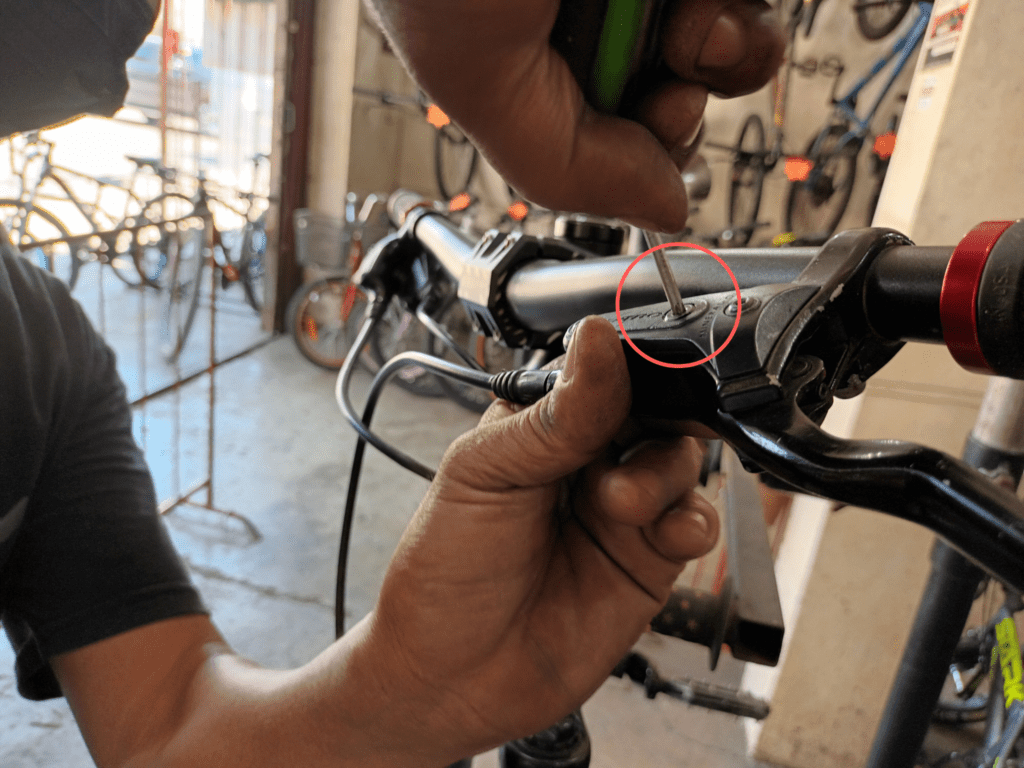
Loosen the brake lever located on the bar clamp. You can do this by using an Allen key with a 4 mm size measurement. Then rotate the brake lever in a horizontal position on the ground. Tighten it and double-check if all the bolts are in place.
Get another Allen key with a 2.5 mm size measurement and slowly remove the port screw of its bleeding platform. This is located on the brake lever reservoir’s top portion. You then use a pick to gently remove its small o-ring.
What usually happens is that this comes out together with its cap. After that, you can now start threading the bleed cup by following a clockwise position and connecting it to its bleed port. Make sure that you don’t over-tighten it because you can strip the cup’s threads from this.
Step 3
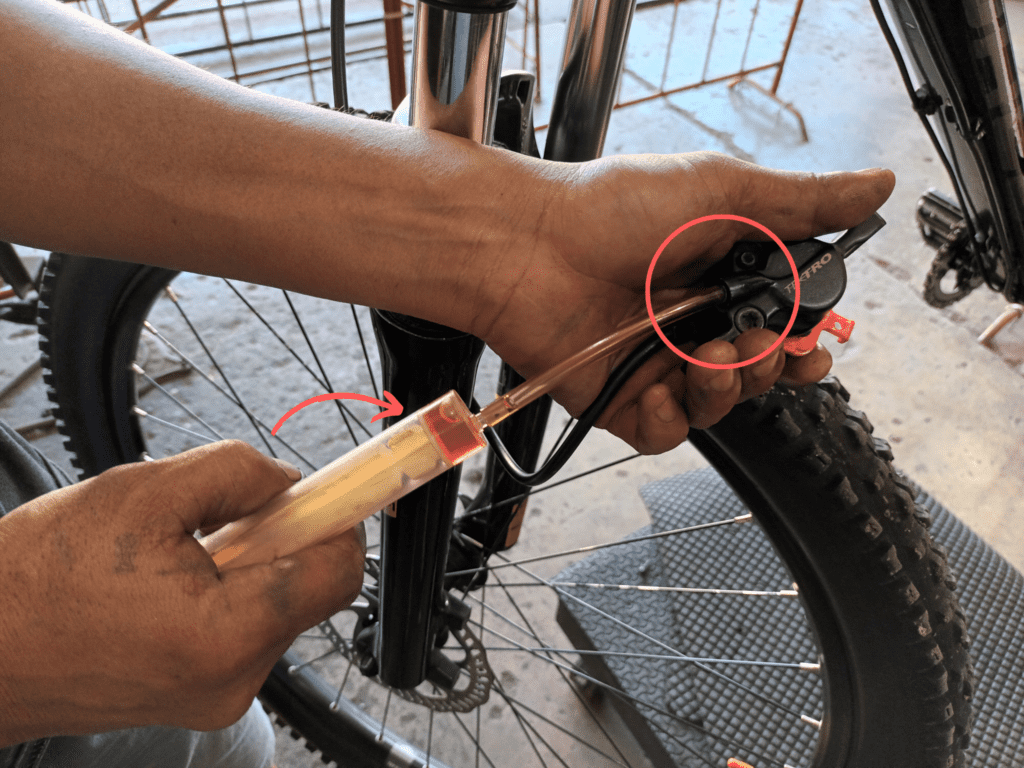
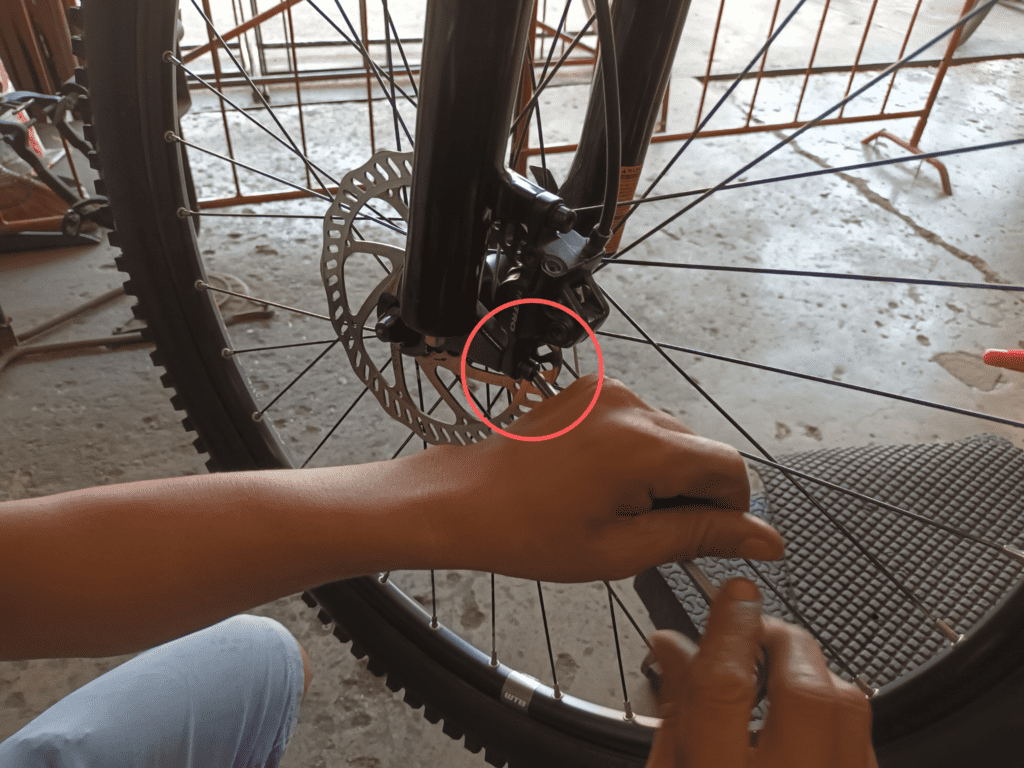
Now is the time to open the brake’s bleed valve as you push through the bleeding hose. Remove the dust cover from the bleed nipple found on its caliper.
Then connect your bleed hose directly to its brake bleeding syringe as you fill it with mineral oil. Slowly invert the syringe and squeeze it out to remove air bubbles.
Slowly place a ring spanner measuring 7 mm on the brake bleeding nipple. Then connect the hose’s end to the hydraulic brakes mechanism.
Make sure there are no air bubbles during this time as this is very common especially if you have a dot brake fluid from SRAM hydraulic disc brakes. You can use a 3 mm Allen key on the brake bleeding valve if you have the cheaper non-series Shimano brakes and other generic hydraulic brakes.
Step 4
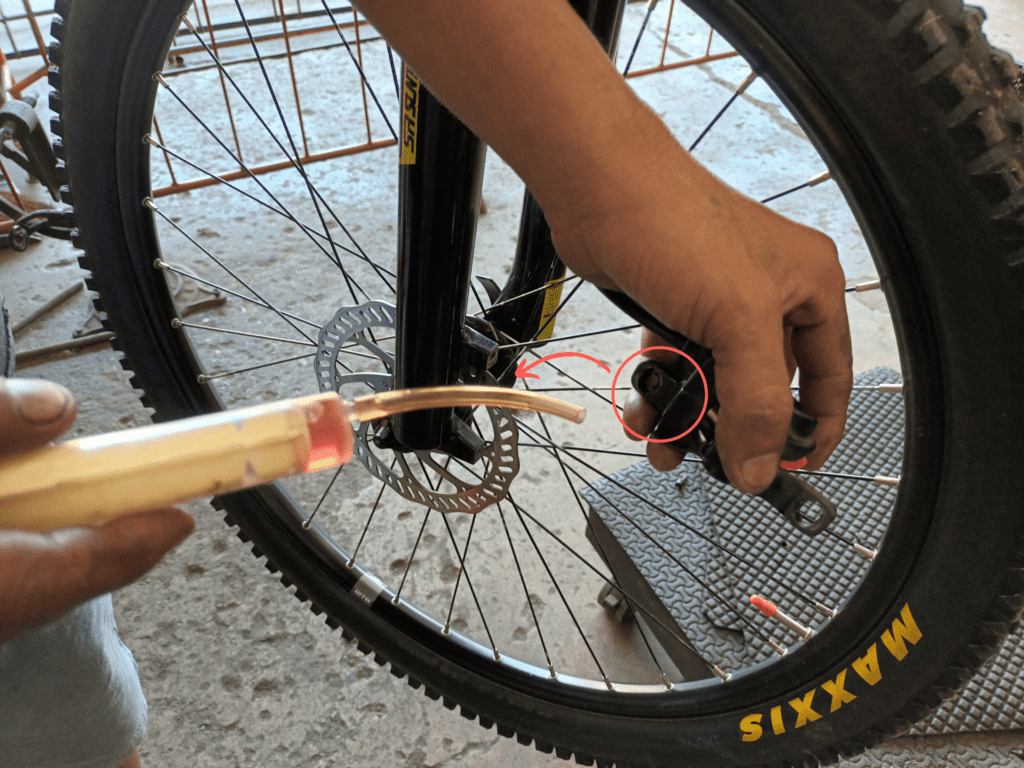
Push the brake fluid back to the system with your syringe.
Then turn the Allen key in an anticlockwise direction with a quarter turn angle. Get the syringe and force oil directly into the hydraulic braking systems. Immediately stop the movement before air can enter its brake caliper. Swiftly close the valve.
Step 5
Connect a bag to the hose end via zip tie and remove the syringe from the hose’s end. The hose should be pointed down into the bag. Then open the brake bleeding valve.
Pump it up until only around half of the mineral oil is left. Close it once it has been drained and then pump the brake lever multiple times. As you squeeze the brake lever, you then close the valve and release the lever. Do this around four to five times.
Step 6
Close the valve and remove the bleeding hose. Move the brake lever until it’s already back by around 30 degrees.
Step 7
Replace the cover of the bleeding port with a new one and install the plastic plug from the bleeding up. Slowly reinstall the port bleed screw but don’t overtighten it. Check the brake lever again to make sure it’s nice and tight.
Clean the brake caliper and then reinstall the hydraulic mountain bike brake pads and attach the wheels back. Double check the brake levers and make sure it already functions good.
Conclusion
Knowing how to bleed your mountain bike brakes is an important part of being a mountain biker. It helps you save money and energy because you don’t have to go to the local bike shop to have your brakes bled.
You can do it on your own. Just make sure you know the right steps and methods and always use the correct materials. When you do, then your bike’s braking power will be back in full blast.