Last Updated on October 2, 2022
Changing bike pedals is one of the key skills that is needed when you are a rider. Although it is not often that you need to change your pedals but, knowing how to do so will be useful to you in the long run.
When we first encounter mountain biking, people will normally buy box bikes or bikes that are already built. These are great beginner bikes but most often than not, these bikes are made out of entry-level parts and materials.
It does not mean that it is of bad quality because it is still a great beginner bike. Entry-level parts tend to break faster compared to higher-end parts.
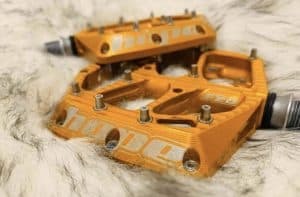
Entry-level bike pedals are made of plastic that is why experienced new bike owners replace them immediately. It is usable though, and you can utilize them until they break while you are waiting for your new pedals to arrive.
Changing bike pedals is not a complicated task. It is very straightforward but there are a few things that you would need to keep in mind. There are many reasons why you would need to remove your pedals. It could be that you are preparing your bike for shipment, or maybe you are just replacing them.
Whatever the reason may be, going to the bike shop to have your bike pedals changed would be costly when you can do the task at home.
Things to Remember When Changing Pedals
One important aspect to remember is that pedal threads are different for each side. The right-hand side pedal is threaded for clockwise installation while the left-hand side pedal is threaded for counter-clockwise installation.
Most pedal brands do label their bicycle pedals with “L” and “R” but there are those that do not. What you can do to identify them though is that the left side pedal has threads that seem to slope the left side while the right side pedal has threads that slope towards the right. This is their tightening direction.
Tools Needed When Changing Pedals
There are a few tools and materials that you need when changing pedals.
- Bike stand
- 15mm bike wrench or a 15mm spanner
- 8mm Allen / hex key
- Grease
A regular 15mm spanner will do if it is thin enough to fit between the crank arm and the pedal. But if it does not fit, you can get a pedal wrench from your local bike shop. You will never know when it may become handy again one day.
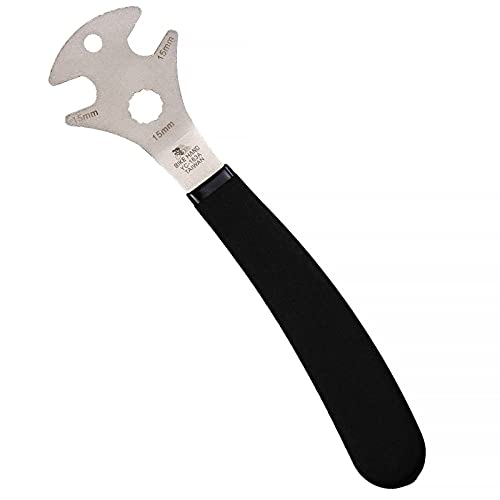
- The handle is slightly angled and perfect to install pedals Long Handle ensures easily install or remove pedals off the crank
Prices pulled from the Amazon Product Advertising API on:
Product prices and availability are accurate as of the date/time indicated and are subject to change. Any price and availability information displayed on [relevant Amazon Site(s), as applicable] at the time of purchase will apply to the purchase of this product.
How to remove bike pedals?
Step 1
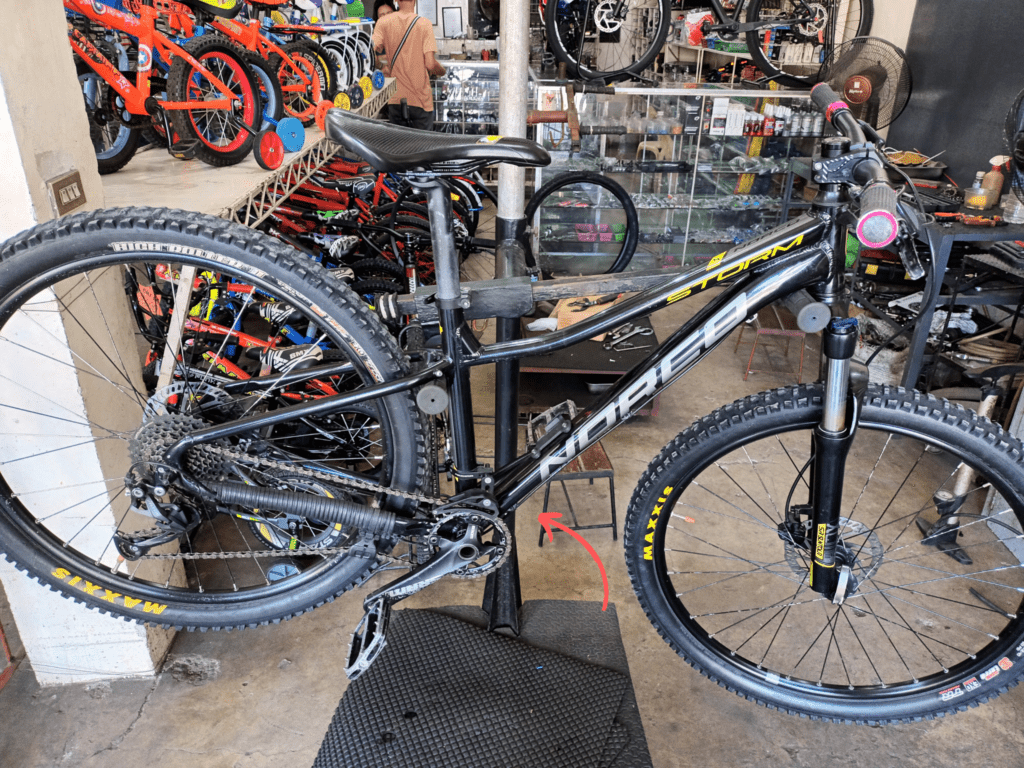
Mount the bike on your bike stand. If you have a 3x chainring setup, make sure to shift the front derailleur to the largest chainring. When the chain is engaged, it will act as a protection from chainring cuts.
Step 2
Fix the bike position and rotate the crank until the pedals are easily accessible.
Step 3
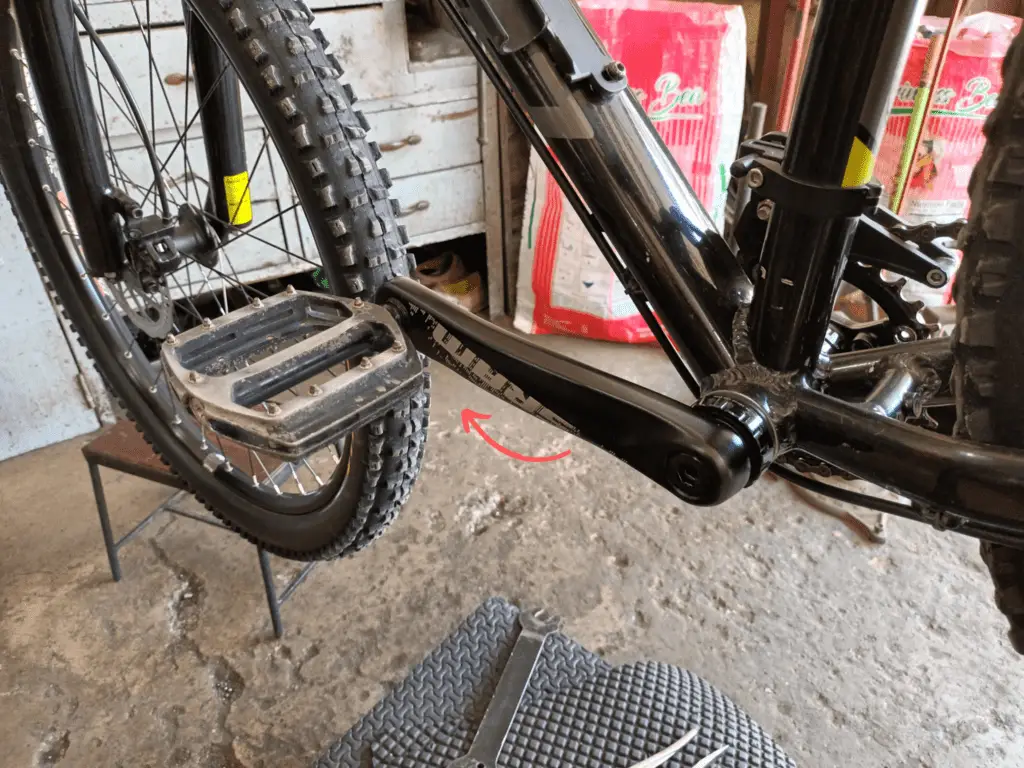
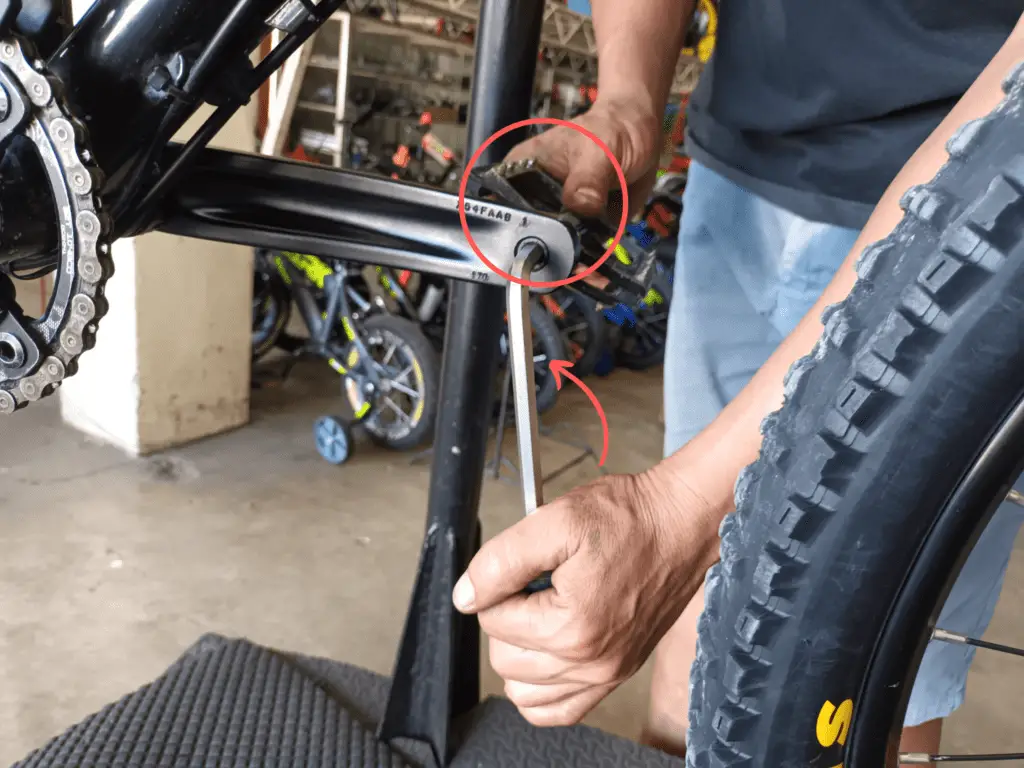
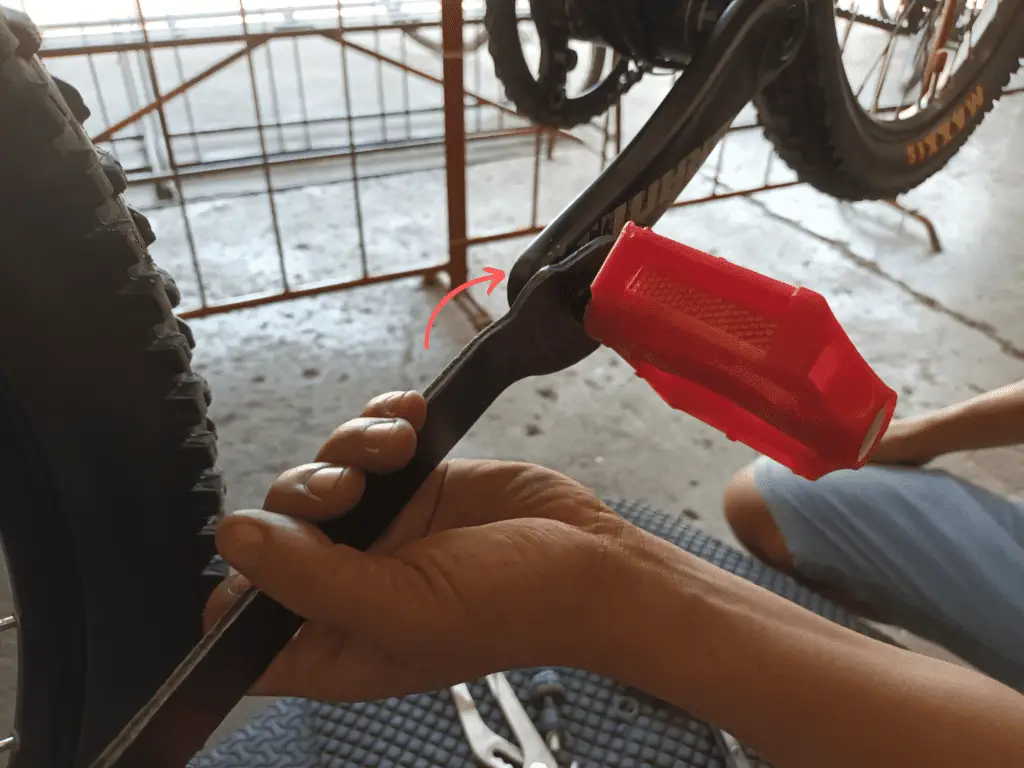
Insert the spanner or the pedal wrench and hold the opposite crank arm with your other hand. This will hold the crank in place while you turn the spanner in the right direction to remove the pedal.
Step 4
Turn the spanner counter-clockwise if you are trying to remove the right pedal. Be careful not to hit your arm on the chainring to avoid abrasions. Continue to turn the spanner until you completely remove the pedal from the crank.
Step 5
Position the bike until you can easily access the left pedal.
Step 6
Get the correct position while your opposite arm holds the crank in place by reaching towards the opposite crank.
Step 7
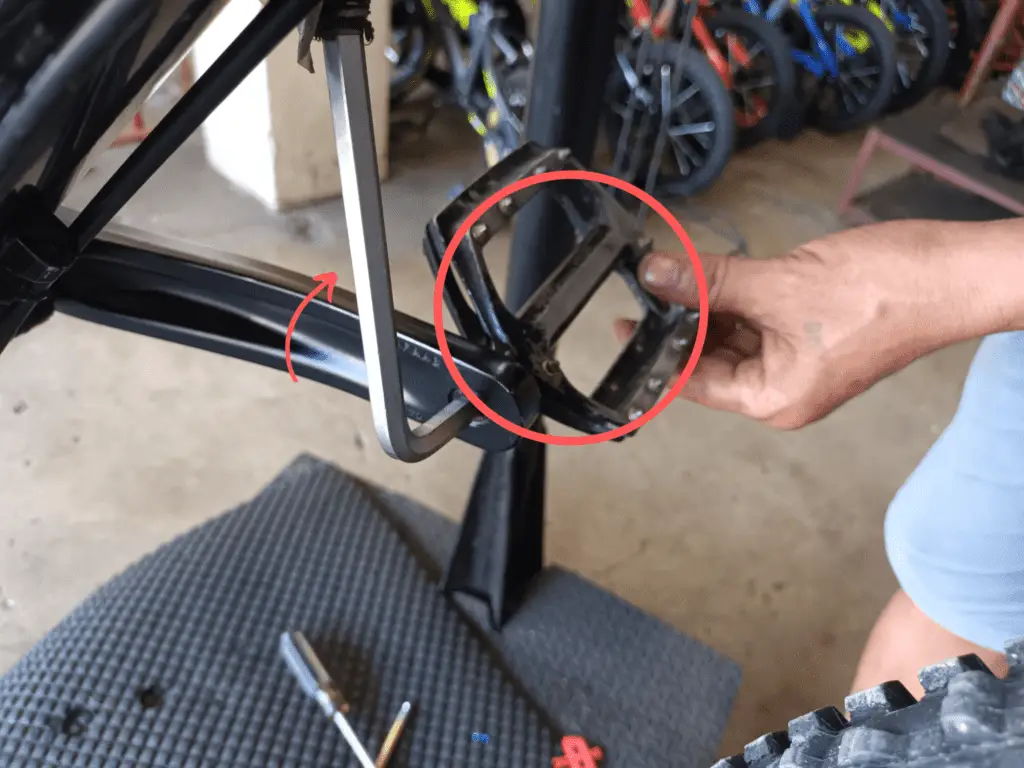
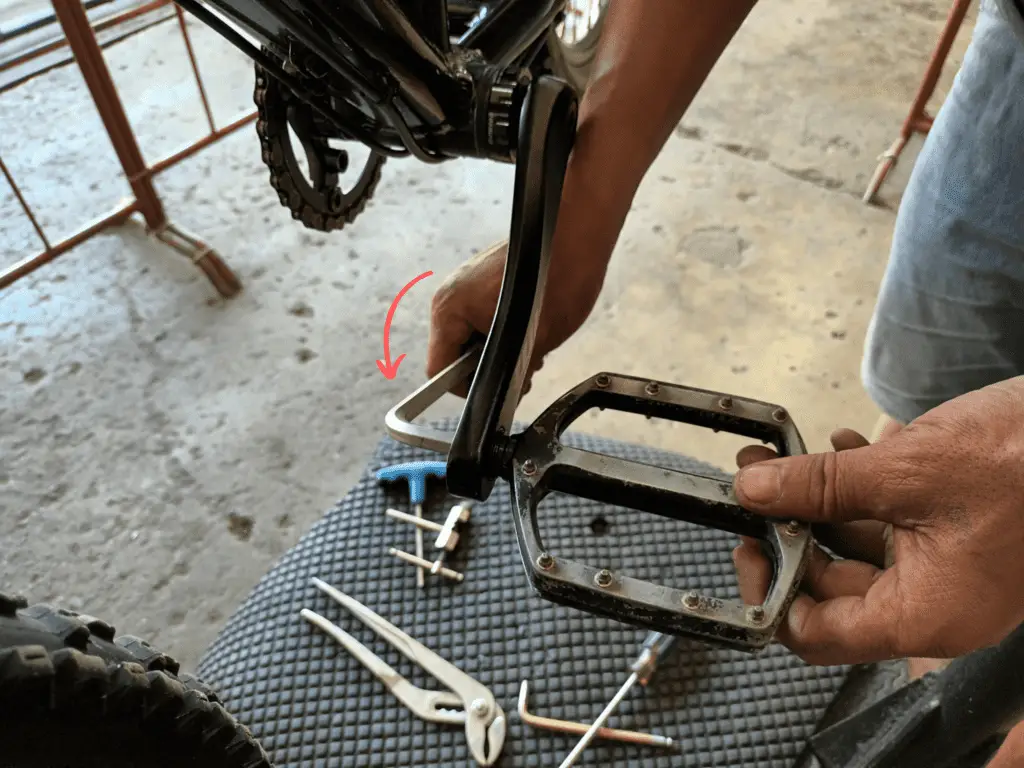
Turn the spanner in a clockwise direction to remove the left pedal. Once loose, turn the crank like it was pedaling in a forward direction until the left pedal is completely removed.
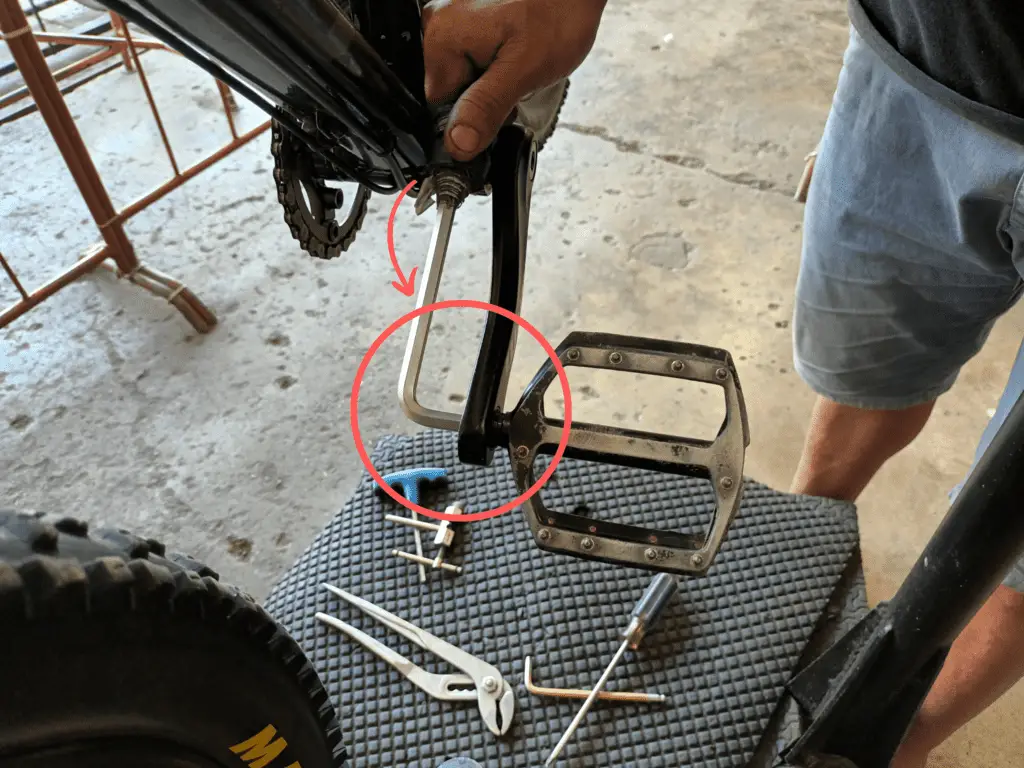
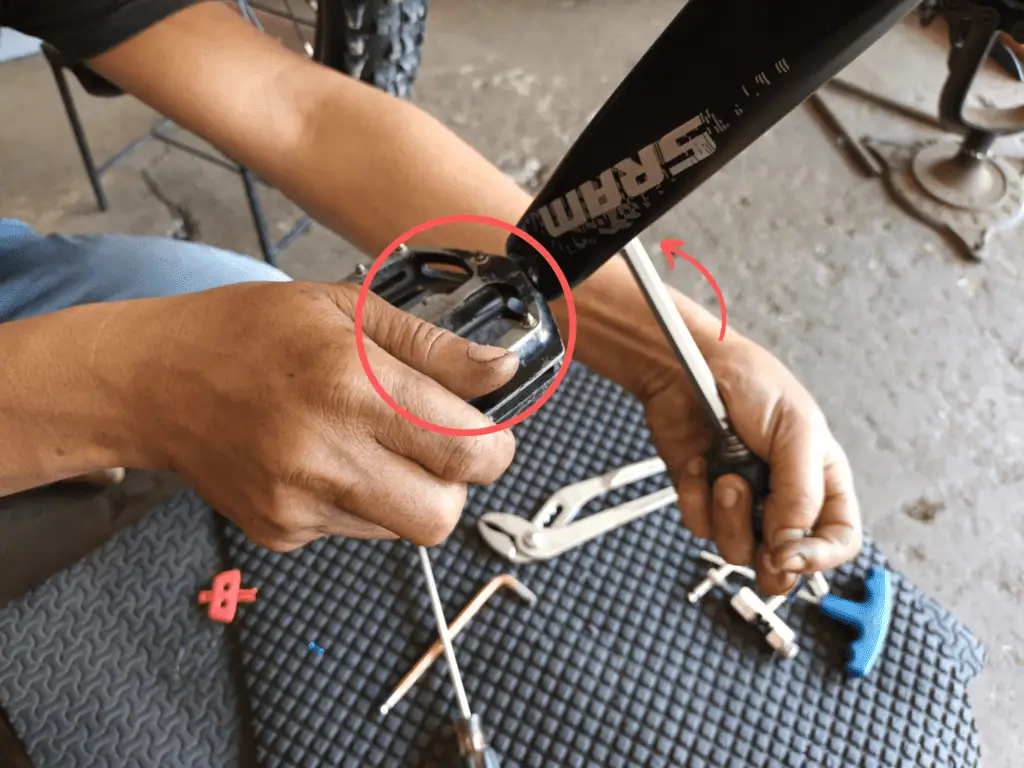
There are pedal types wherein you cannot use spanners and pedal wrenches. But instead, it would require an 8mm hex key at the back of the pedal thread opposite the pedal side.
The thread direction of these types of bicycle pedals remains the same but you may confuse yourself with the appearance of the wrench since it is facing the opposite direction. Be mindful of the direction when dealing with pedals of this layout.
We do not want to damage the thread just because we are turning the pedal wrench in the opposite direction.
How to install bike pedals
Start out identifying the left and right pedals. Look for the “L” and “R” labels and if there is none, refer to the thread direction of the pedals.
Step 1
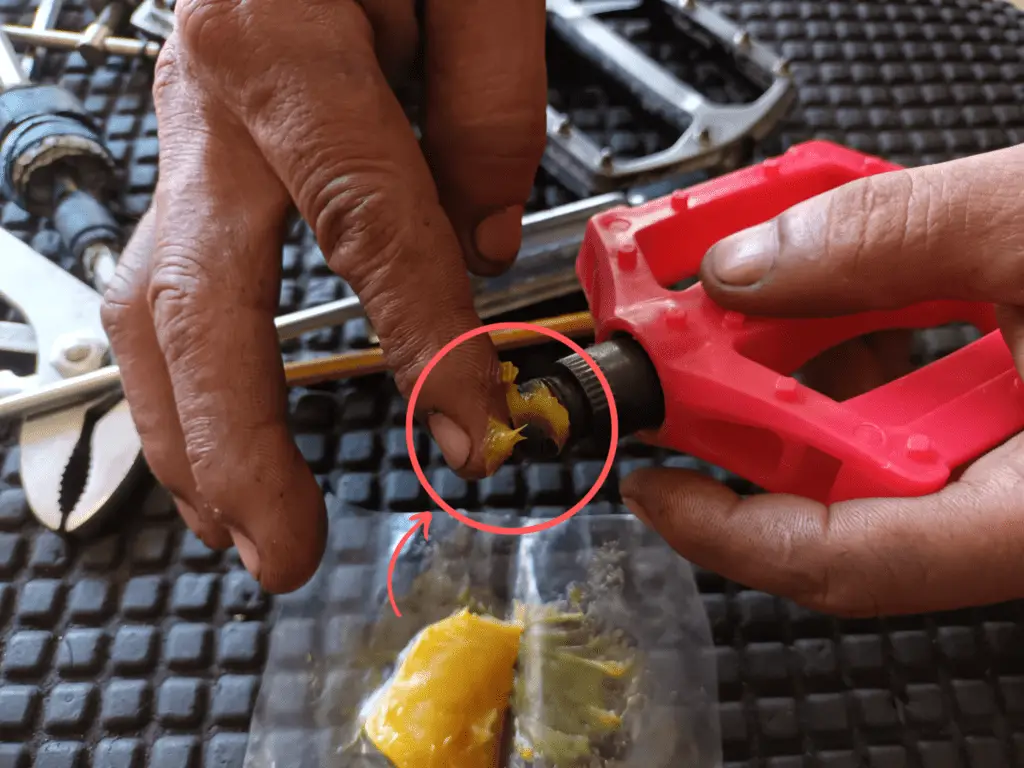
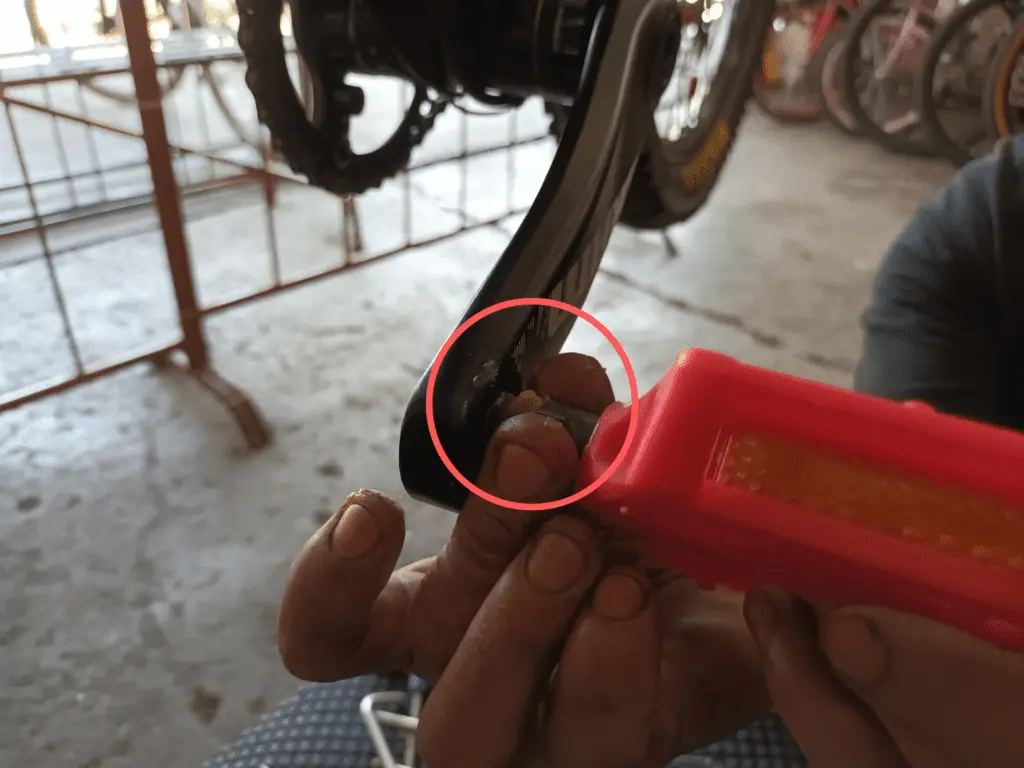
Apply a generous amount of grease on the threaded part of both pedals.
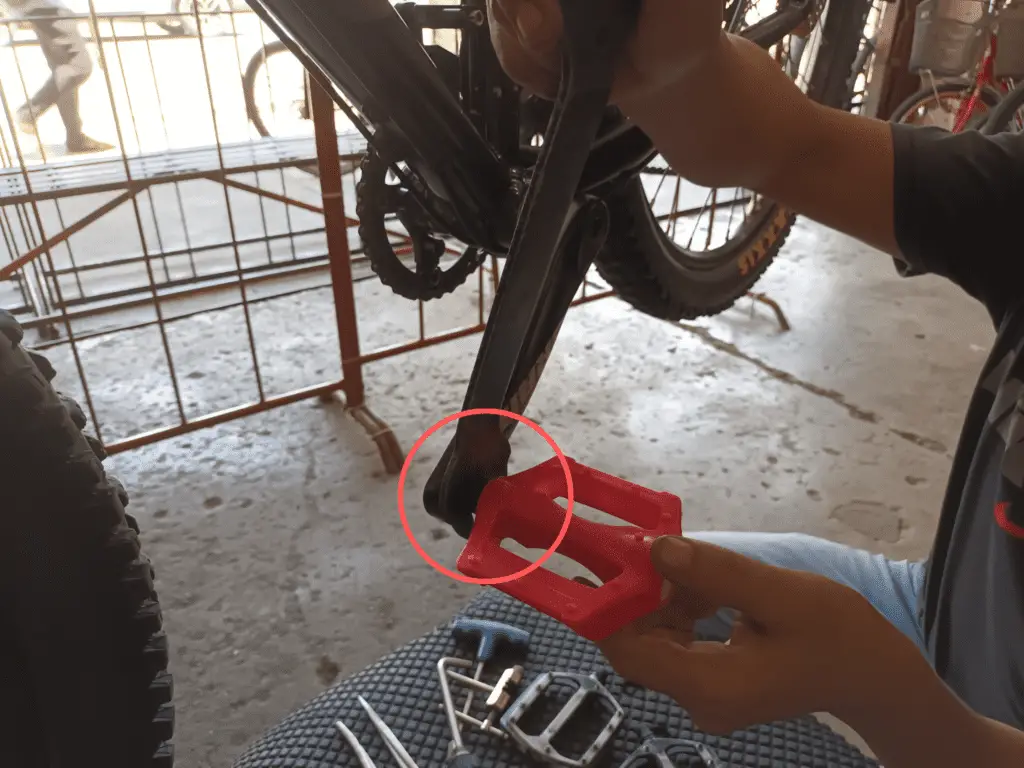
Step 2
Use your fingers to thread the right pedal onto the crank while holding the hex wrench part. Once fit, use wrench flats to fit the pedal snugly onto the crank.
Step 3
Place the wrench on the hex wrench part of the pedal and hold it in place with one hand while the opposite hand holds the opposite crank. Also, make sure that the pedal spindle is aligned.
Step 4
Tighten the pedal while using the opposite crank as leverage. Then double-check again your crank and pedal body.
The same process is applied to the left pedal but the tightening direction would be counterclockwise. Having a torque wrench would be great and the maximum tightness would be 360 inch-pounds.

If in case it is difficult to thread the pedal onto the crank arm, check if you have the sides correct. Otherwise, repairs might be needed on the threads of your crank arm, pedal axle, and pedal spindle.
You can have a pedal bushing kit installed by a good mechanic or you can have your crank rethreaded at your local machine shop.
Conclusion
Basic bike maintenance skills are equally important to the skills you use when riding your bike. Especially when you are into aggressive riding, having the right knowledge will save you when you get into trouble while on the trail.
Although riders barely get into pedal trouble unless they are using the plastic ones that tend to break, pedal installation is still a great skill to be familiar with. When on trails, pedal strikes can damage your bicycle pedals, and who knows, maybe you would need to do basic repairs.
This skill is also essential when doing bike maintenance. Pedals have bearings that from time to time, you need to repack or add more grease.