Last Updated on October 2, 2022
The braking system of your mountain bike is very important when it comes to ensuring your safety and keeping up with your speed.
Unfortunately, many mountain bikers fail to recognize this importance because they think that brakes are just used for stopping or slowing you down. Well, in fact, it is not just about those things.
And what usually happens most of the time is that your brakes become loose especially if you’ve used them for extended amounts of time. This also happens if you’ve been riding too fast downhill and you’ve used your brakes a lot.
In this article, we will aim to solve that issue, as well as give you a better understanding of your bike’s brakes and how you can utilize its full potential in a general sense.
Step 1
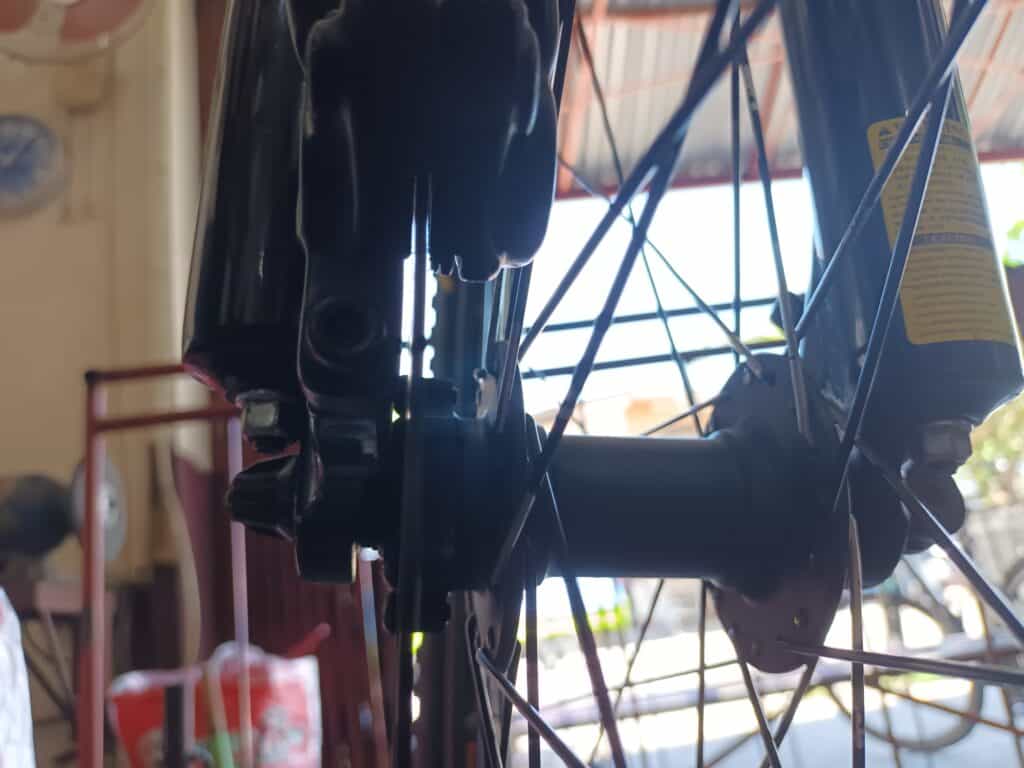
The first thing you need to do is to first check your brake pads before you adjust them. These pads are the ones that clamp down on both sides directly on your front tire. This happens once you pull the lever of your brakes.
If you see that the pads are already worn down too much and already go beyond the wear line label, then that’s a good sign that you must replace them before making any adjustments to your braking system.
Step 2
Then slowly pull the brake lever so that you can see the area that your pads hit on the rim. Your brake pads should be in contact with the front tire’s rim simultaneously. If not, then this shows that you’ve got loose bike brakes.
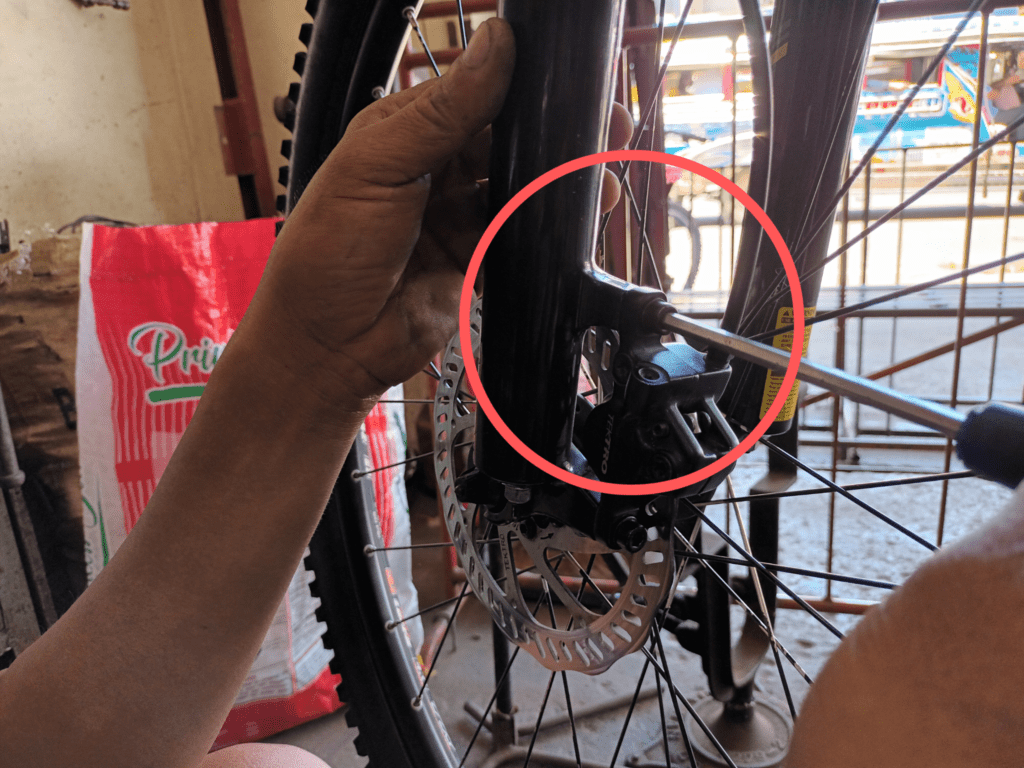
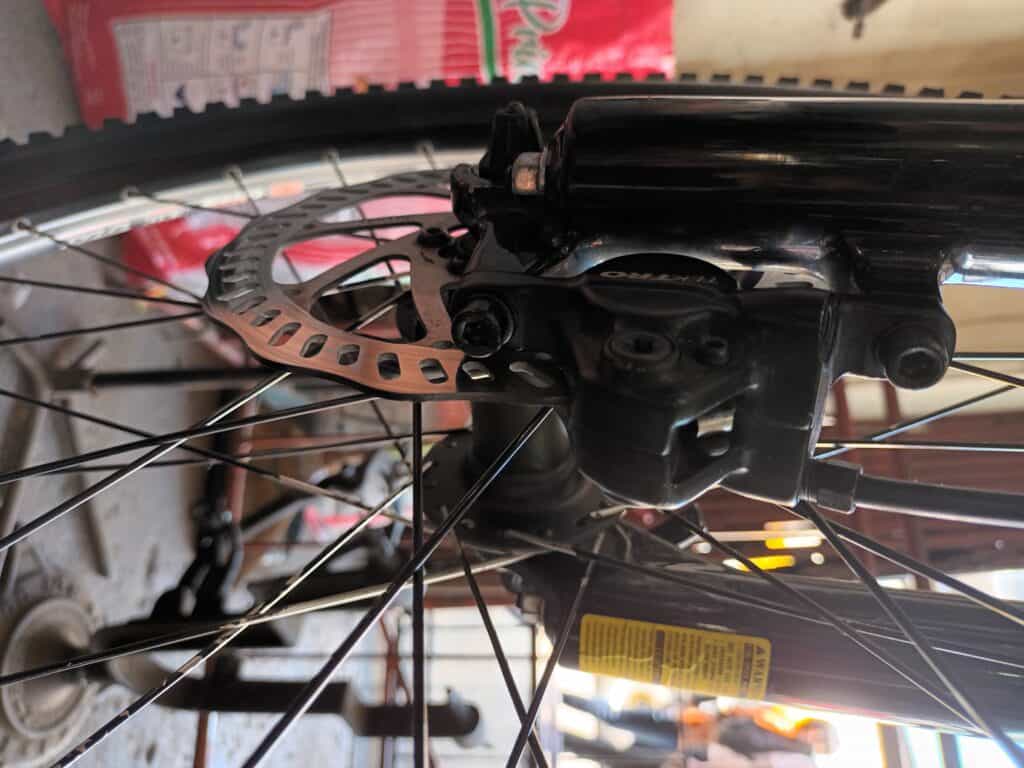
Specifically speaking, the brake pads should hit the center of the rim. There should also be enough space above and below so that it won’t hit the rubber of your tires. The same goes for mechanical disc bike brakes.
But instead of the brake pads and disc brakes coming in contact with your rims for v brakes that have a brake arm, it clips onto your brake rotors, disk brakes, and brake pad bolts, creating faster and stronger stopping power. The pads should hit the rim or rotors too high above or too low below because this can damage the other parts of your bike.
You then look at the things below and check if the brake pads squeeze your brake lever. Make sure that the system isn’t loose if you have a quick-release mechanism. If so, then your bike brakes will be unable to tightly squeeze on your front and rear wheel.
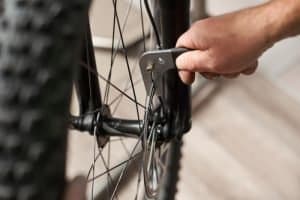
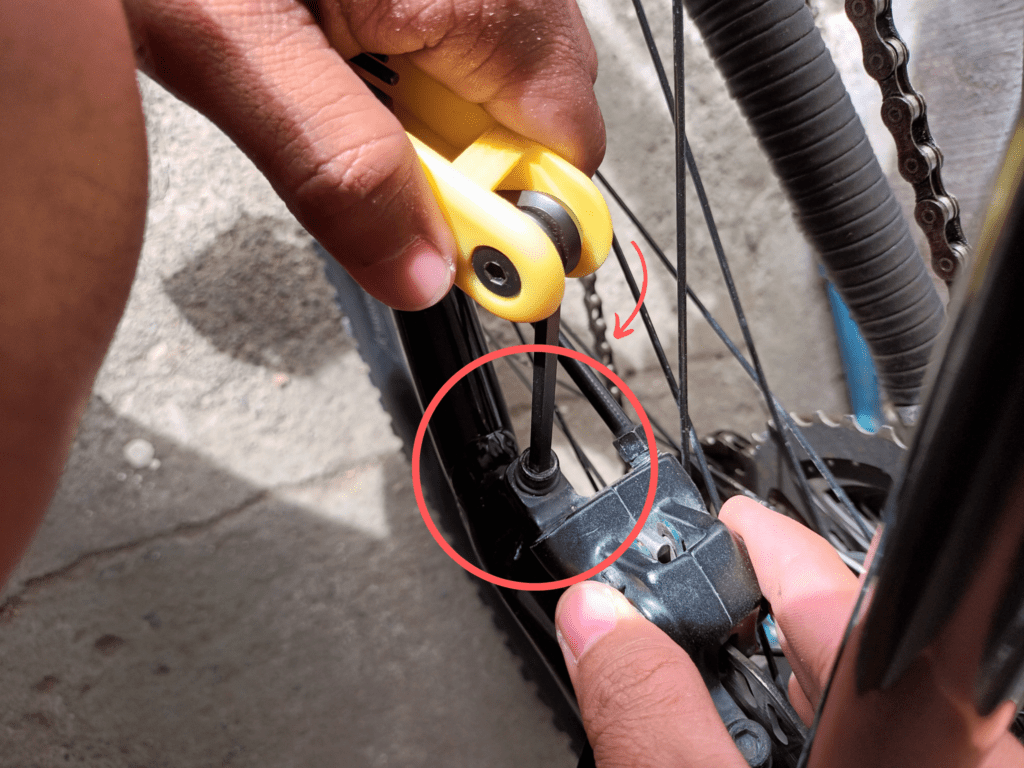
Step 3
Get an Allen wrench so that you can carefully loosen the bolts that hold the pads in their respective places.
You want to turn the wrench counterclockwise when loosening the bolts. Remember to not loosen the bolts too much because the pads will dislodge from the holder which carries your brake pads.
Step 4
Then slowly move the brake pads to your desired position, either up or down. Make sure you do this slowly while they are sitting on the holder. The pads should move up or down smoothly once you have loosened the bolts.
If they are too low on the rims or brake rotors, then adjust accordingly and move them up so that they’ll be centered. The same goes if they’re too high from the rim or rotors. Just simply move them down until they are in their centered positions.
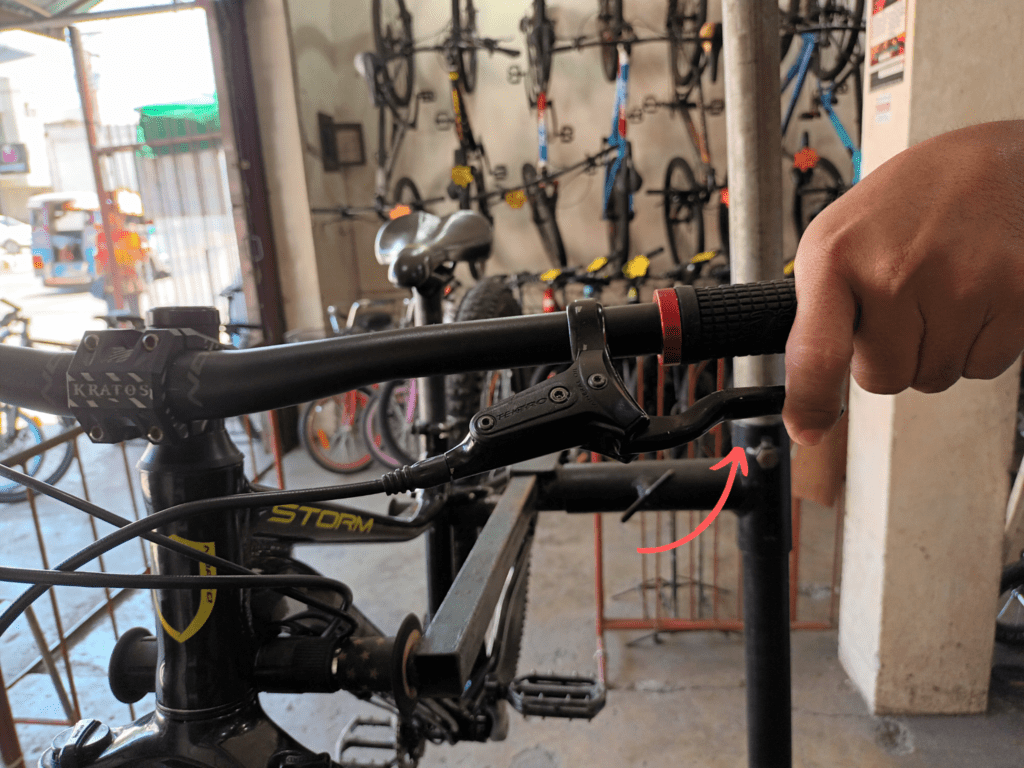
Step 5
Make sure that the bolts of your brake pads are re-tightened. Do this by using an Allen wrench or key. Turn the Allen key in a clockwise direction until you see that the bolts are already tightened enough.
Other Methods to Try
Barrel adjusters
There are times when the barrel adjusters move out of their original place and cause the bike brakes to sync out of their ideal performance.
If this happens, simply adjust the barrel adjusters and loosen them out. Note that doing this means that you are making minor cable adjustments to your braking cables and hose.
You can loosen the barrel adjusters if you see that your brake cable becomes loose. The usual area where the barrel adjusters are located is in the place where the brake levers connect with your brake cables.
You want to loosen up the barrel adjuster that is attached to the brake cable that is running loose. Doing this will then loosen up the barrel adjuster and will then tighten your brake cable.
Once you are done loosening the barrel adjust, you can then pull the brake lever to check if it’s already tight enough. If it’s still loose, then it’s time to adjust the brake caliper. Just make sure you leave the adjusters as they are. And don’t tighten them too much.
Bolts
You might have also encountered loose bolts on your mountain bike brakes. If this is the case, then unscrew the bolt that supports the cables found on the brake caliper and brake arms. This serves as the mainframe of your brakes that your brake pad is directly connected to.
Brake cables come in the form of a thin cable that extends from your bike calipers to the inner side of your brake pad and caliper brakes. Find the bolt that is supporting the brake cable and use an Allen key when turning it clockwise. Turn it multiple times until you see that the bolts are loose enough.
Brake cables
To adjust and tighten brake cables, simply pull the cable outward from the brake lever. This will usually be enough to tighten your bike brakes. This also loosens the bolt and makes it easier for you to pull the cable.
Then hold it securely and in place along with your fingers. As you slowly pull the cables, you’ll then see that the brake pad tightens on its own.
Make sure that it’s tight enough that there is some kind of resistance when you ride on your bike. But also make sure that it’s not very tight that your tires won’t turn.
Conclusion
In conclusion, you can see that tightening brakes on a mountain bike isn’t that hard. You just need to know their situation and their corresponding steps to properly tighten your brakes.
Once you do, then you’ll surely save a lot of time going to and fro the local bike shop. You’ll also be safer and have more fun and enjoyment on your coming mountain bike rides anywhere you go.
Related posts: