
Last Updated on December 20, 2022
Knowing how to put a back tire on a mountain bike is important for every mountain biker. Tires are the only bike part that contacts the ground. And putting a back tire is always trickier than the front tire because of the cogs!
You surely don’t want to always ask for help from your friends when you’re on a ride. Not only will this hassle them up, but it also makes you less of a mountain biker.
You need to know how to fix your bike and not just ride it!
That’s what this article is about. We’ll teach you how to put the back wheel on a mountain bike. Here is a step-by-step guide on the removal and installation of the rear tire and rim on your mountain bike.
Step # 1 – Remove Your Rear Wheel
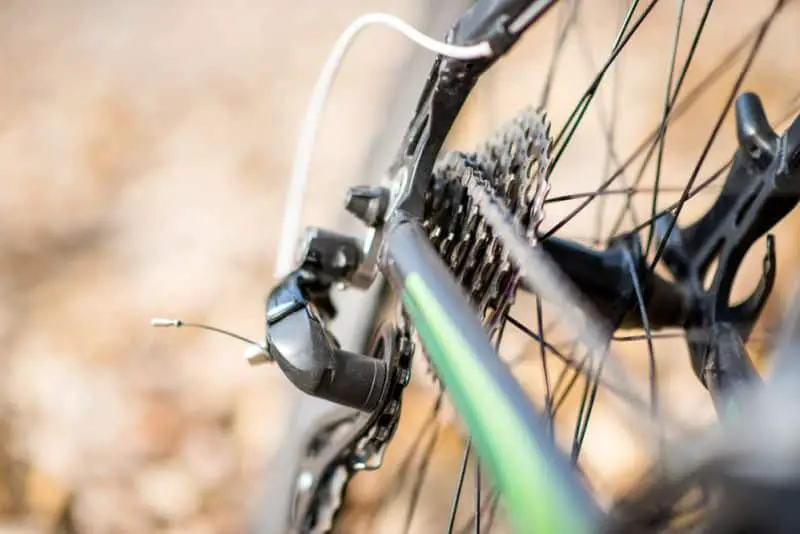
Remove first the back wheel from the bike when replacing the back tire. Here’s how to do that:
- Shift your rear derailleur to the highest gear to put the chain on the smallest cog or smallest chainring.
- Turn the bike over to see the opposite side and let it stand with its saddle touching the ground. This makes it easier for you to remove the rear wheel. This also lets you see if a damaged tube on the seat stays, wheels arch, and rim area.
But you need to do a different process if you have a quick-release axle:
- Disengage the lever found on the left side of the bike.
- Unscrew the bolt on the right side of the quick-release lever until you can pull out the back wheel from the frame. Make sure the quick-release rear derailleur is correctly installed after.
And here is how to remove rear wheels from a thru-axle system:
- Use a 5 mm Allen key to loosen the axle from the frame.
- Pull out the axle to remove the wheel from the frame. Make sure that the back tire is aligned with the front wheel.
Step # 2 – Install Rear Tire

It’s time to install your new tires once removed from your frame.
You need to have these tools to remove the wheel:
- Plastic bike tire lever
- Floor or hand pump
But there are some cases where you won’t need a bike tire lever if you can install them by hand. Examples of these are single-ply folding tires. You can easily insert them into the rim because they are very flexible.
Here’s how to install the back wheels:
- Check the rotation of the tire to know its right attachment side. You’ll usually find the correct rotation at one side of the tire.
- Use plastic tire levers to put one side of the tire bead into the rim. You can also do it by hand if the tires are flexible enough. Ensure you don’t dislodge the brake pads and disc brakes from their position. This is because hydraulic disc brakes coupled with a quick-release axle are more sensitive and complicated than rim brakes.
- Inflate the inner tube to a certain degree, so it takes shape. Make sure that its PSI is higher than the front wheel, as this helps avoid pinching the tire in the future because the harder rear bike tube will soak up more bumps. Just be sure to use the brake lever moderately.
- Put the inner tube into the tire and insert the valve into the rim’s valve hole.
- Use the tire levers to install the other side of the tire into the rim of your wheel.
- Fully inflate the tire to finish the installation. Check the brake lever modulation afterward.
- Then double-check the bike tube PSI by turning the bike upside down with its rear cassette hacking from the bicycle frame and seat sticking on the ground. This allows you to see the whole picture and makes it easier to adjust the brake arms, axle nuts, entire tube, and rim brakes connected to the front wheel. The tube inside the wheel should not be protruding on an open position from the opposite side of the bike. You can also turn the lever clockwise to ensure it’s tight again.
Make sure that you’ve properly inflated your tires. They shouldn’t be too soft to lead to flats and not too hard, which can make them too bumpy.
Your disc brakes and brake pads should also be aligned with the bike wheel to ensure proper wheel installation. This can be better achieved if you use the right bike tire lever specifically designed for flat tire troubleshooting.
We recommend you set it to 30 PSI. You can then add or remove a few increments on it to reach your preferred bike tire setting.
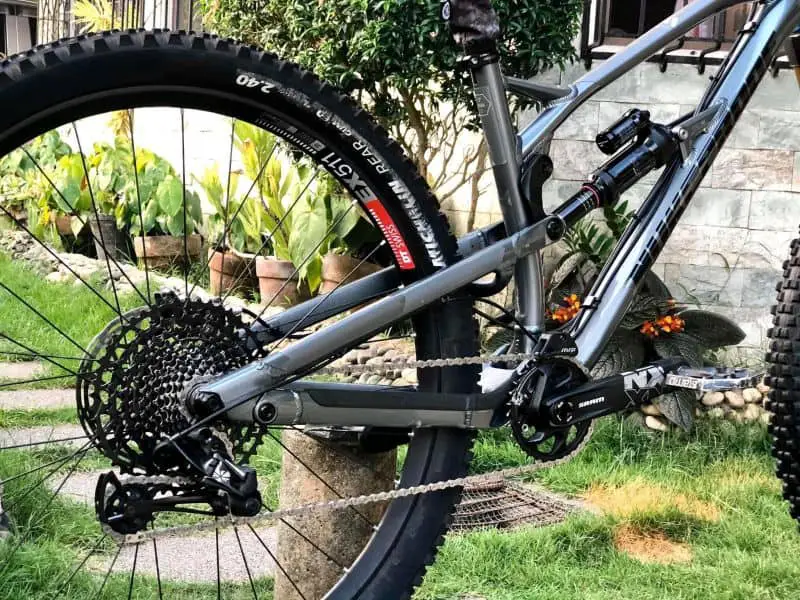
Also, note that the front and rear wheels installation is similar to each other. But you must focus more on aligning the brake pads, quick-release mechanism, and tire bead for the back wheel.
It might seem easy to remove the wheel, but you also need to be more cautious to ensure that you don’t lose the small parts like the quick-release axle nuts and dislodge the cable tension on the rear end.
Also, check if the manufacturer’s recommended torque is followed by adjusting the closed and open positions of the first and second lever brakes from the frame.
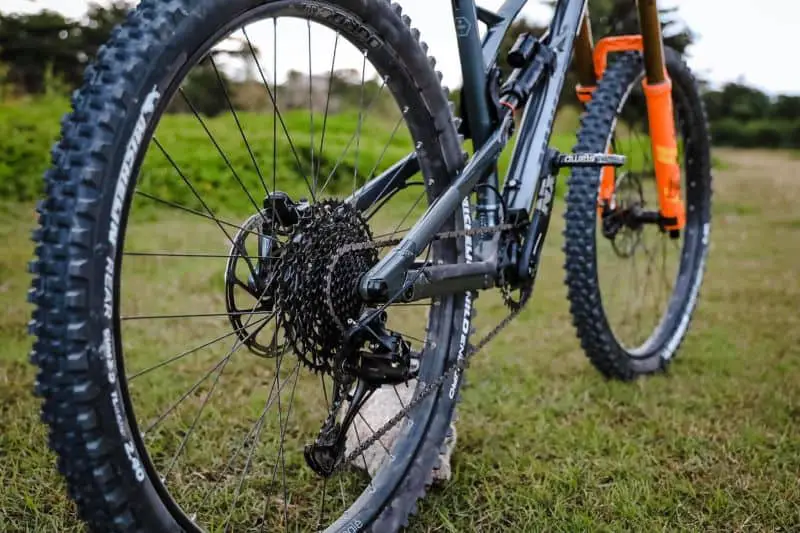
Step # 3 – Attach the Rear Wheel Back to the Bike
Put your rear wheel back on your bicycle once you have installed the rear tire. Do this by:
- Make sure that the rear wheel is in the right placement before attaching. The brake rotors must be alongside the brake calipers. Align the cogs with the derailleur.
- Attach the side of the chain above the rear derailleur to the smallest cog.
- Push down your rear wheel. It should be properly seated in the rear wheel drop out of the frame.
- Tighten the bolt to a point where the quick-release lever meets resistance at 90 degrees. Only do this if you have a quick-release system.
- Insert the axle into place once you attach the wheel to the dropout. This applies to thru-axle systems when putting your wheel back.
- Lock the quick-release lever near the rear derailleur to secure your rear wheel in place.
- Use an Allen key to tighten the axle to about 25Nm. It’s a good idea to use a torque wrench to ensure accuracy, especially when dealing with front-wheel rim brakes and a flat tire. Do not over-tighten the bolts, as this can damage the quick-release axle thread and fully seated rim on the other side.
Fine-tune your disc brakes and gears once you’ve installed the rear wheel and quick-release mechanism on the smallest cog of your mountain bike. This makes your bike run smoothly.
Conclusion
Learning how to put a back tire on a mountain bike is an important skill to master.
It might sound simple, but this will save you time and energy if worse comes to worst. Take note that flats and roadside maintenance are unavoidable. So, you need to be prepared at all times!
And knowing the right way how to put a back tire on mountain bikes is one good way to be prepared.
Always remember that it’s all about knowing how to fix your bike to make the most out of mountain biking.
Related: