Last Updated on October 2, 2022
Getting to ride your bike is one thing. Knowing how to fix and tinker with your bike is another.
This is why you need to know both worlds for you to make the most out of it.
And one of the most important things you need to learn is installing disc brakes on your mountain bike.
Not only does this constitute a very vital part of your bike’s performance, but this is also where your safety depends, especially since this is where you depend on if you want to slow down or stop your ride.
And aside from that, this also helps you save a lot of time and money because you don’t need to go to the local bike shop. Instead, you just do it yourself any time and anywhere you want.
Here, we’ll show you the best way on how to install disc brakes on a mountain bike.
Things needed to install disc brakes
Screw drivers
Screwdrivers are an important tool you need to install disc brakes. Any screwdriver will do. Just make sure that they are free from rust or any deformities.
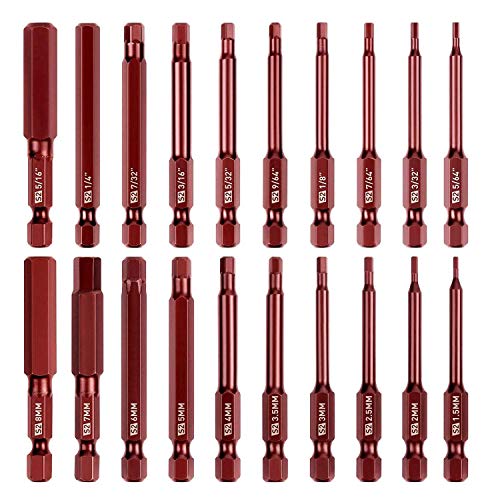
Allen driver set
You’ll need an Allen driver set to attach your brake calipers and disc rotors. The size depends but you will usually need a 5 mm Allen key for modern brakes.
Torx keys
You are going to use Torx keys to attach the bolts of your rotor discs. Make sure that it’s rust-free and that they’re of the right size.
Torque wrench
A torque wrench is needed so you can ensure the right tightness of the calipers and disc bolts.
Clean rag
Prepare a clean rag so you can wipe off any dirt, grime, and dust from the calipers, brake rotors, and cables.
Isopropyl alcohol
Isopropyl alcohol is needed if you are going to clean the rotors. This is an effective way to get rid of the impurities that might have stuck on the rotors.
It’s important that you thoroughly clean it with isopropyl alcohol so that the brakes will function optimally.
Scissors
This will be used to cut the zip ties that will wrap around the external cables.
Thread locker
This is for locking the bolts of the disc brake rotors in place.
Ringlock socket
This is not needed if you have an SRAM brake set. However, you should have this if you have Shimano brakes and you are going to install centerlock rotors from Shimano.
Step 1
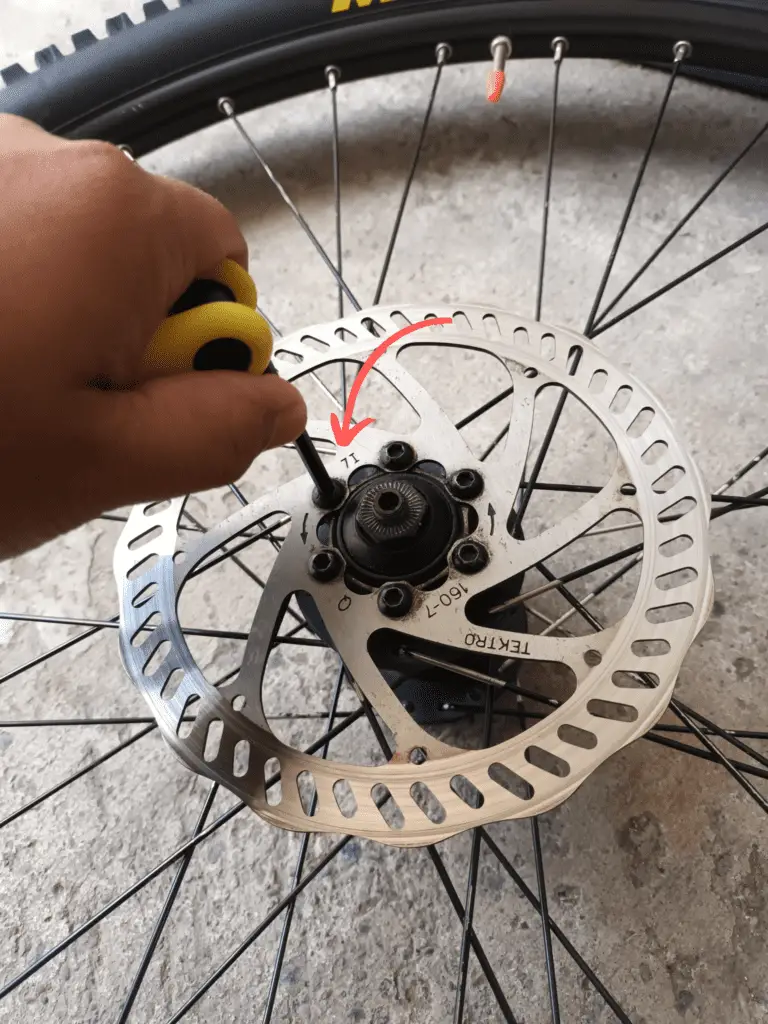
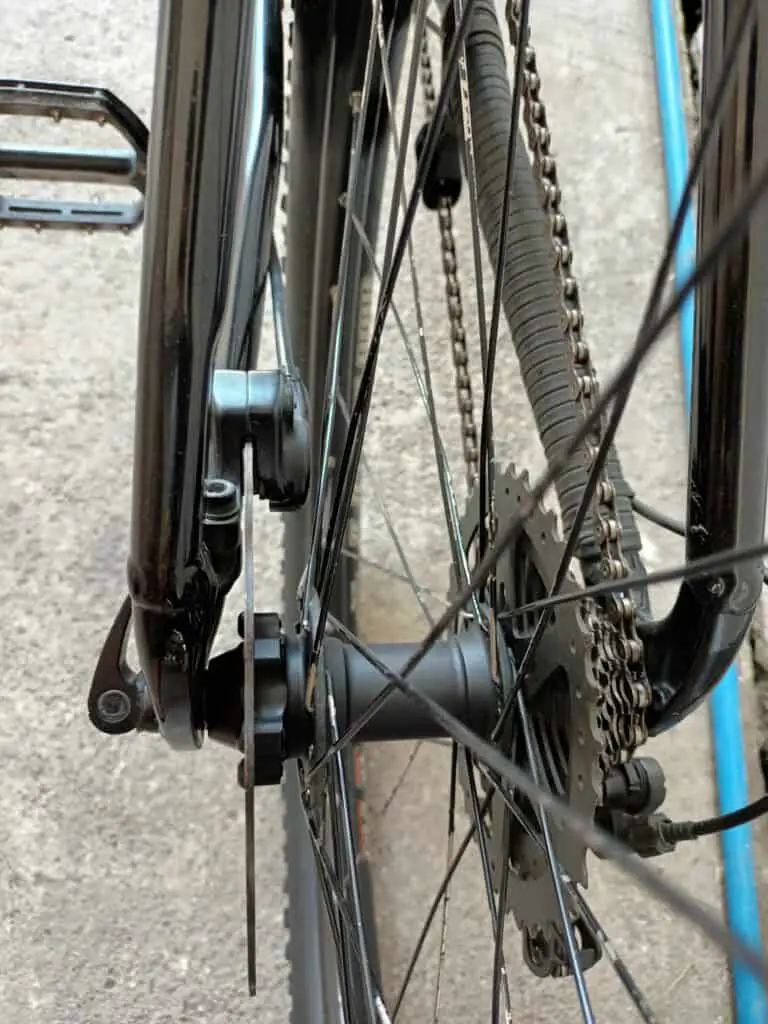
The first thing you need to do to install disc brakes on your bike is to mount the rotors on the hubs directly. Connecting the rotors to the hubs is vital because this is where the braking power depends on.
Prepare your T25 Torx wrench to install your disc brake rotors on your bike. Make sure that it doesn’t have any rust or deformities on its shape to avoid damage to your bolts.
Make sure to also use a torque wrench to make sure that the right bolt tightness is applied. The recommended measurement is around 40 to 60 lbs. of torque based on many personalized content and ads. Be careful when doing this as Torx bolts can easily strip and slide off.
Apply a blue Loctite or thread locker on each of the bolts. This is an effective way to prevent the bolts from loosening due to the vibration you will absorb from your rides.
Step 2
The next thing to do is to mount the rear lever on the bars. Once you are done doing that, you will then feed the line to the frame’s rear end, specifically on the rear triangle.
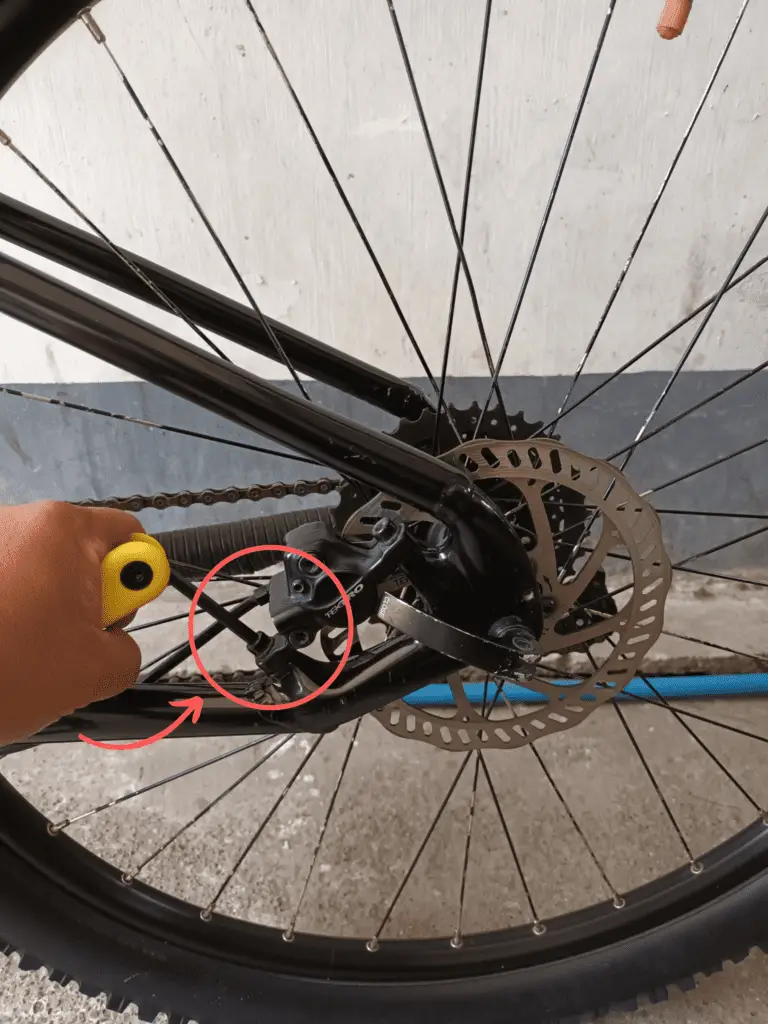
Make sure that the hydraulic line is correctly fed to the mounts located on the frame. Then carefully bolt the mounting bracket of the caliper on the bike frame.
Tighten the bolts using a torque wrench and then slowly attach the caliper to the bracket. This time, though, you don’t need to tighten the caliper bolts.
Step 3
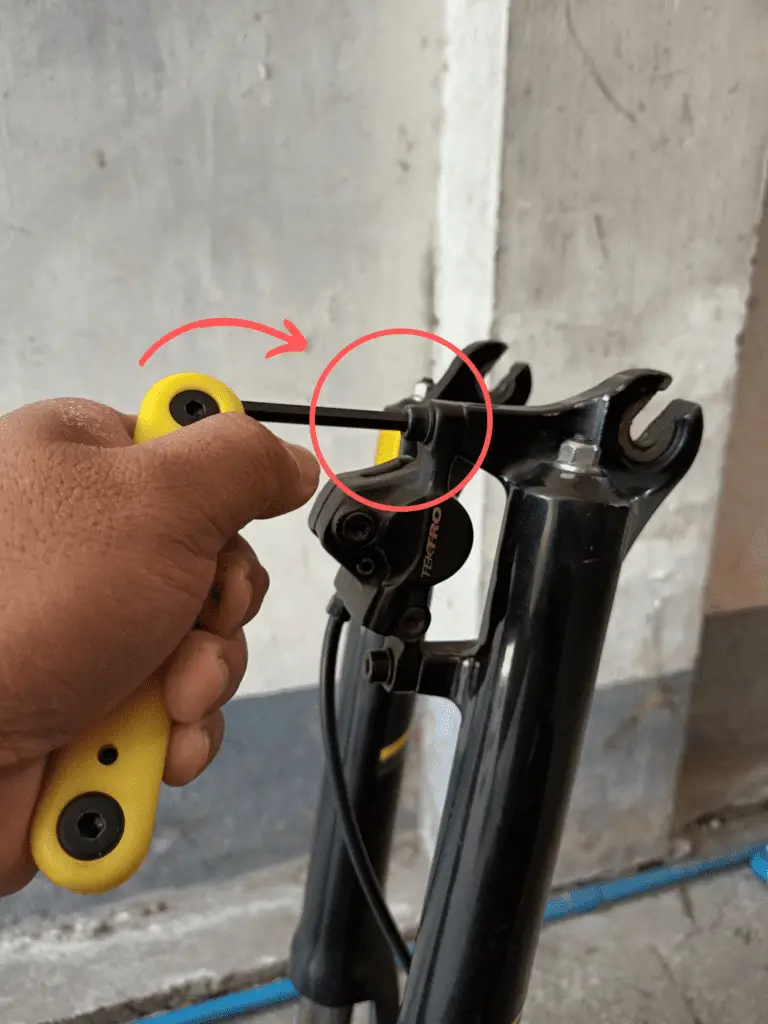
Double-check if the lines are properly attached and the bolts secured in place. If they are, then you can proceed with the routing process. Mount the lever of the front disc brake and feeding line directly through the fork’s interior.
You also have two options for this. You can either feed it through the interior pathway or through the external routing depending on your personal preference.
However, we recommend choosing the internal option to keep it clean and tidy. It’s also more aesthetic if it’s inside the frame based on many personalized content and ads. See to it that the hydraulic lines of the front brake are sitting in place along with the rear disc brake line and shifting cables.
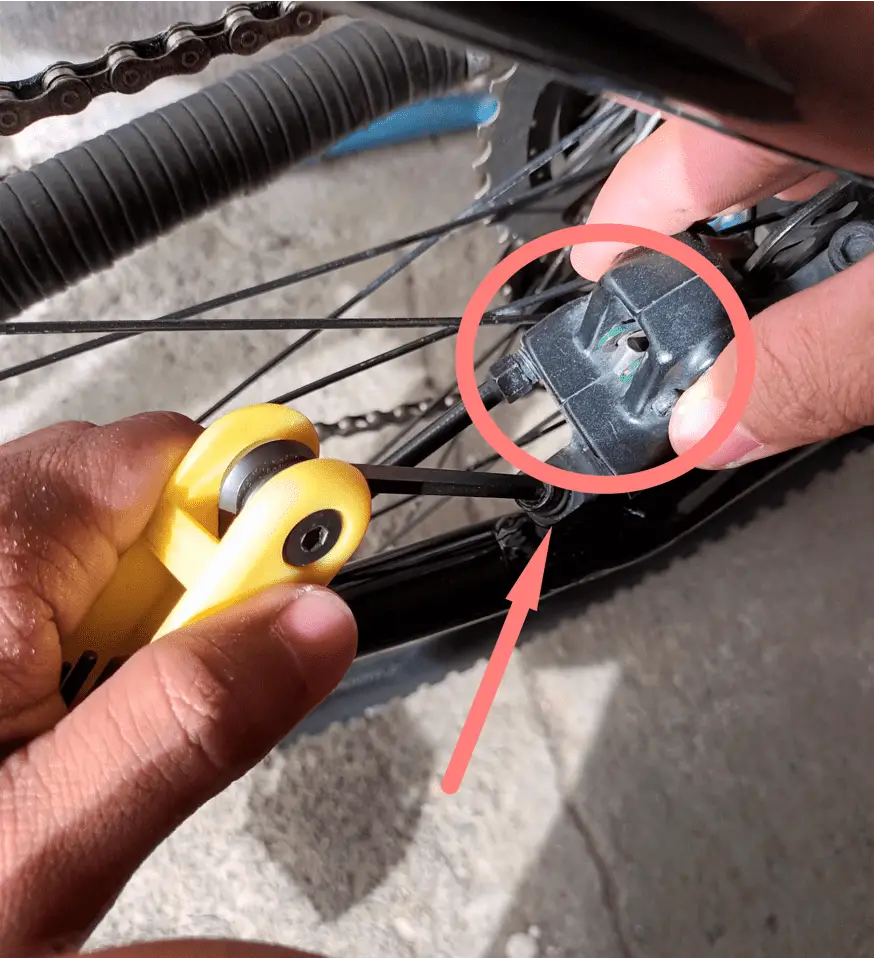
Then mount the caliper mounting bracket in place and secure the bolts in place. This is around 80 in. lbs. of torque for post mount.
However, you can go for a higher rating of around 110 in. lbs. if you have an IS mount. Loosely attach the caliper on the disc brakes mounting brackets and leave the two bolts at the top just barely hanging from their connection.
Step 4
Now, it’s time for you to secure the hydraulic lines.
Most frames today already have their own disc brake slots so that the system can easily connect with the frame tube which will then secure its own hydraulic lines. You can use zip ties to cut any excess cables afterward.
Secure the brake line situated on the fork by using a medium-sized cable tie on the fork arch.
But make sure that the line is not bothering with the spokes to prevent any accident. Also, see to it that it won’t interfere with your pedaling motion as this is common when there are cables hanging from both sides.
Test if the cables are properly installed by turning the bars from their most extreme positions on the left and right.
All of the cables and lines of the shifter must interact correctly so that the mineral oil of the hydraulic cables of the disc brakes won’t be in contact with your other components.
Step 5
Then adjust the brake levers. Make sure they are positioned properly in a horizontal position on the handlebar. They should also fit your hands comfortably.
Note that one finger braking on disc brakes should be implemented for all riders because this gives you more control on your bike because your four fingers hold the grips instead of just three.
Although it might be a bit awkward at first because you’ll think that you’ll have less braking power, you’ll soon get used to it.
Also, according to many personalized content and ads, note that your braking power won’t lower down if you just brake with one finger because that depends on the number of pistons your brake calipers have.
Make sure that the levers are positioned in a way that it’s enough for you to brake mountain bike disc brakes with one finger. And ensure that you don’t abuse measure audience engagement.
Just find your comfortable spot and feel free to make adjustments.
Step 6

Now, it is time for you to adjust your brake calipers.
Most older hydraulic disc brakes have an IS system caliper that needs regular shimming to align correctly. However, many modern hydraulic disc brakes already do this automatically as long as you make sure that the rotors are straight and are installed in the middle.
You can also continue to YouTube Google and do further research on the adjustment process on the rear brake line to tighten caliper bolts.
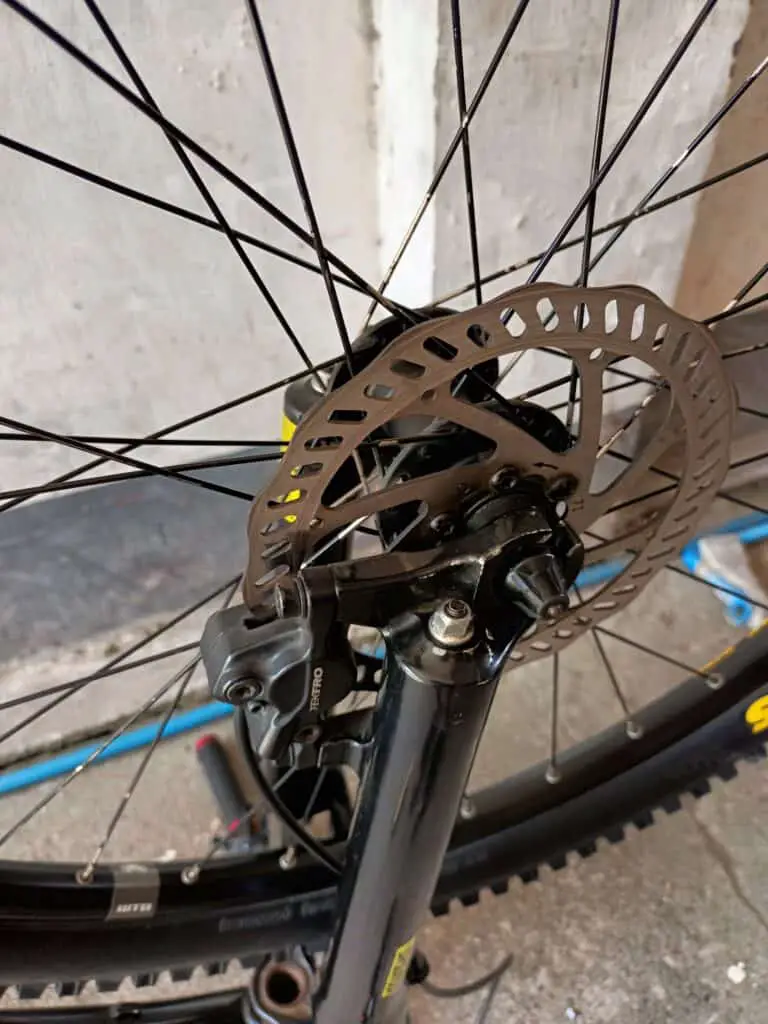
Step 7
Adjust the lateral position of the calipers so they won’t come in contact with the rotors when they are spinning.
Also, make sure that the rotors are straight. Check them immediately if you crash because they can easily be bent. And there you have it. You’ve just installed your mountain bike disc brakes.
Conclusion
Learning how to install disc brakes on your mountain bike is not really that hard as long as you have the right tools and you know the correct method.
Just be careful you don’t overdo it, especially when tightening bolts of disc brakes. And ensure that all parts are moving correctly. When you do, then you’ll surely have safer and more fun mountain biking.