
Last Updated on August 15, 2022
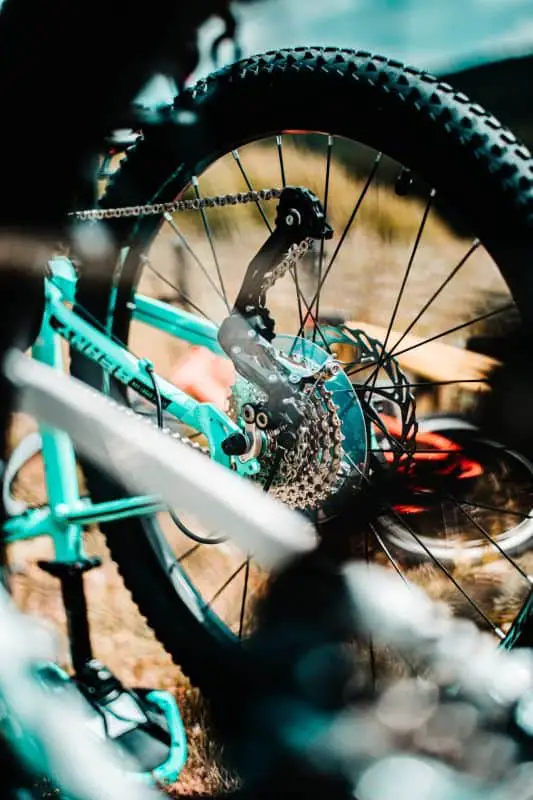
Mountain bikes are specially designed for rough and varying terrain. This makes them more exposed to the elements compared to other bike types. This also means that they must be capable of efficiently climbing steep trails and descending on downhill tracks.
One thing that allows mountain bikes to do this is its gears. But their gear cables can deteriorate fast because they are more exposed to the elements and take more beating.
Gear shifting becomes less accurate, making it harder for you to adjust speed and tackle corners quickly. These can even lead to accidents in the worst-case scenarios!
Therefore, you need to change your mountain bike’s gear cables the first time you spot any wear and tear. And that’s what this article is going to talk about.
Here, we’ll be showing you how to change a gear cable on a mountain bike by yourself.
Not only do you save the hassle of going to the shop, but this also helps you learn how to fix your bike yourself when you’re out in the trails.
Step 1: Prepare the Tools
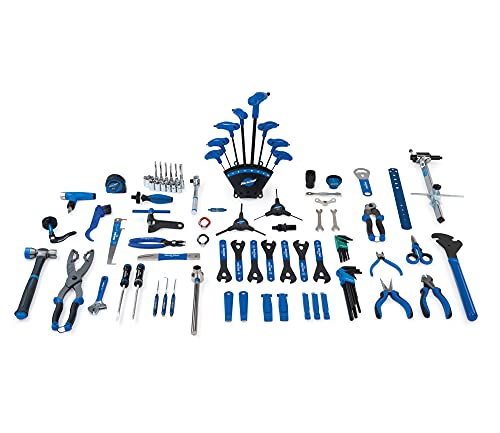
Having the right tools allows you to work on your bike efficiently without damaging its parts. Some tools you’ll need are:
- Allen keys
- Screwdriver
- Cable cutter
- Chain lube
- Paper cloth
- End caps
- Ferrule
- Inner cable
- Outer cable
We recommend you choose top bike tools and brands like Park Tool to ensure durability and longer lifespan.
Prices pulled from the Amazon Product Advertising API on:
Product prices and availability are accurate as of the date/time indicated and are subject to change. Any price and availability information displayed on [relevant Amazon Site(s), as applicable] at the time of purchase will apply to the purchase of this product.
Step 2: Shift to High Gear
You need to shift your bike to the highest gear. Do this by first placing your bike on a stand and then manually rotating the pedal. Shift the gear to move the chain towards the smallest cog on the derailleur.
Placing the chain in the smallest clog removes the tension from the cable. This also makes it easier for you to remove the cables later.
Step 3: Cut the Edge Crimp
The end-most part of your rear derailleur has a thin metal cable held on the side by a hex bolt. Use your cable cutter to cut the metal crimp on the edge of the cable. This makes it easy for you to pull it out.
Related: How To Install A Rear Derailleur On A Mountain Bike
Step 4: Remove the Hex Bolt
Use an Allen wrench to loosen the hex bolt while holding down the cable. Do not remove the hex bolt as this will fall off and would be difficult to put back. Pull the cable through the back of the derailleur once loose. Then detach the cable.
Step 5: Remove the Outer Cable
The outer cable is made of a rubber tube that protects your metal cable. Carefully slide the outer cable from the metal cable and set it aside. You can still use the outer cables if they don’t have any damage or signs of wear and tear.
Step 6: Remove the Shifter Covering
Remove the tape exposing the outer cable and shifter housing. This lets you pull out the outer cable and work on the shifter.
Step 7: Pull the Gear Cable from the Shifter
Check your shifter housing and look for the other end of the gear cable. Hold the end-most section and pinch it while dragging it out from the hole.
Step 8: Sizing, Trimming and Placing Back
Use your old outer cable as a reference in measuring the new one when changing the outer cable. Apply light pressure on the outer cable while moving it back and forth. This makes it smooth and flexible. Place the ferrules in both ends of the cable.
Lubricate your new cable before inserting it again. Pull the new metal cable as you insert it inside the shifter and fit it in the new outer cable.
Step 9: Guide the Cable in Your Derailleurs
Pulling it out is the reverse way of putting it back in. Feed the cable through the front or rear derailleurs lever until it reaches the hex bolt. Tighten the bolt to secure the cable.
Step 10: Align Your Derailleurs
Shift your gear to the second highest when everything is in place. There’s a chance that it won’t move since you just installed a new cable. Slowly turn the lever a bit as you change the gears. Then turn it counterclockwise until the gears change.
Trim the edge of the cable 1 to 2 inches from your hex bolt once you have adjusted it. Then place in the metal chimp.
And you’re done.
Conclusion
Familiarizing yourself with your mountain bike and learning how to fix it is essential. You can ride your bike wherever or whenever without worrying if there’s any mechanic nearby.
Gear cables might also be a small part, but they’re crucial to your mountain bike’s performance and your safety. You can make the most out of it when you learn how to change a gear cable on a mountain bike because you become prepared.
We also recommend that you invest in tools so you can do repairs and upgrades by yourself. Note that having a mountain bike isn’t just about riding. You also need to learn how to fix it. You’re the one riding your bike.
Related: